Host a static Website on Amazon S3 – Begineer to AWS
Welcome to the realm of Cloud! If you are starting a business, a creative individual, or have experiences to share, owning a website is vital in the current digital era. In this easy-to-follow manual, I will lead you step by step in building a basic static website with Amazon S3. You don’t need any previous coding experience – just bring your enthusiasm and eagerness to learn. Therefore, let’s get our hands dirty and begin embarking on this thrilling adventure!
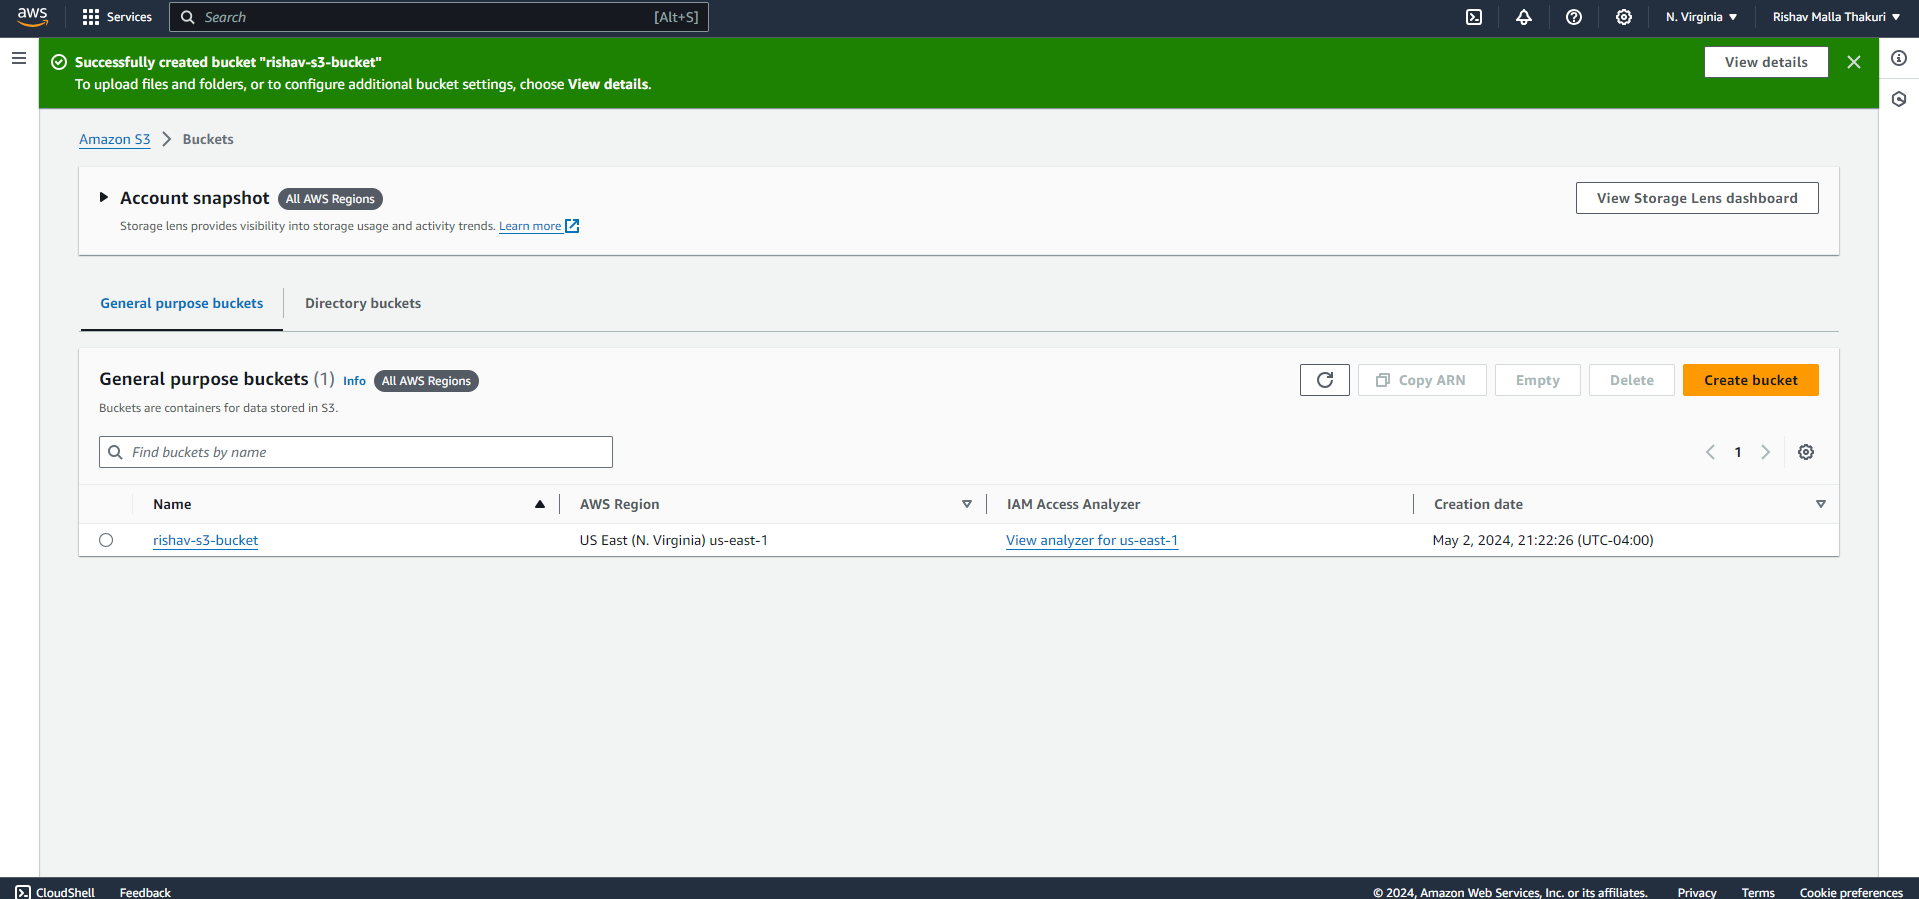
Step 1: Setting Up Your Amazon S3 Bucket The first step in building your static website is to create a new bucket in Amazon S3. Here’s how you can do it:
- Log in to your AWS Management Console.
- Navigate to the Amazon S3 service.
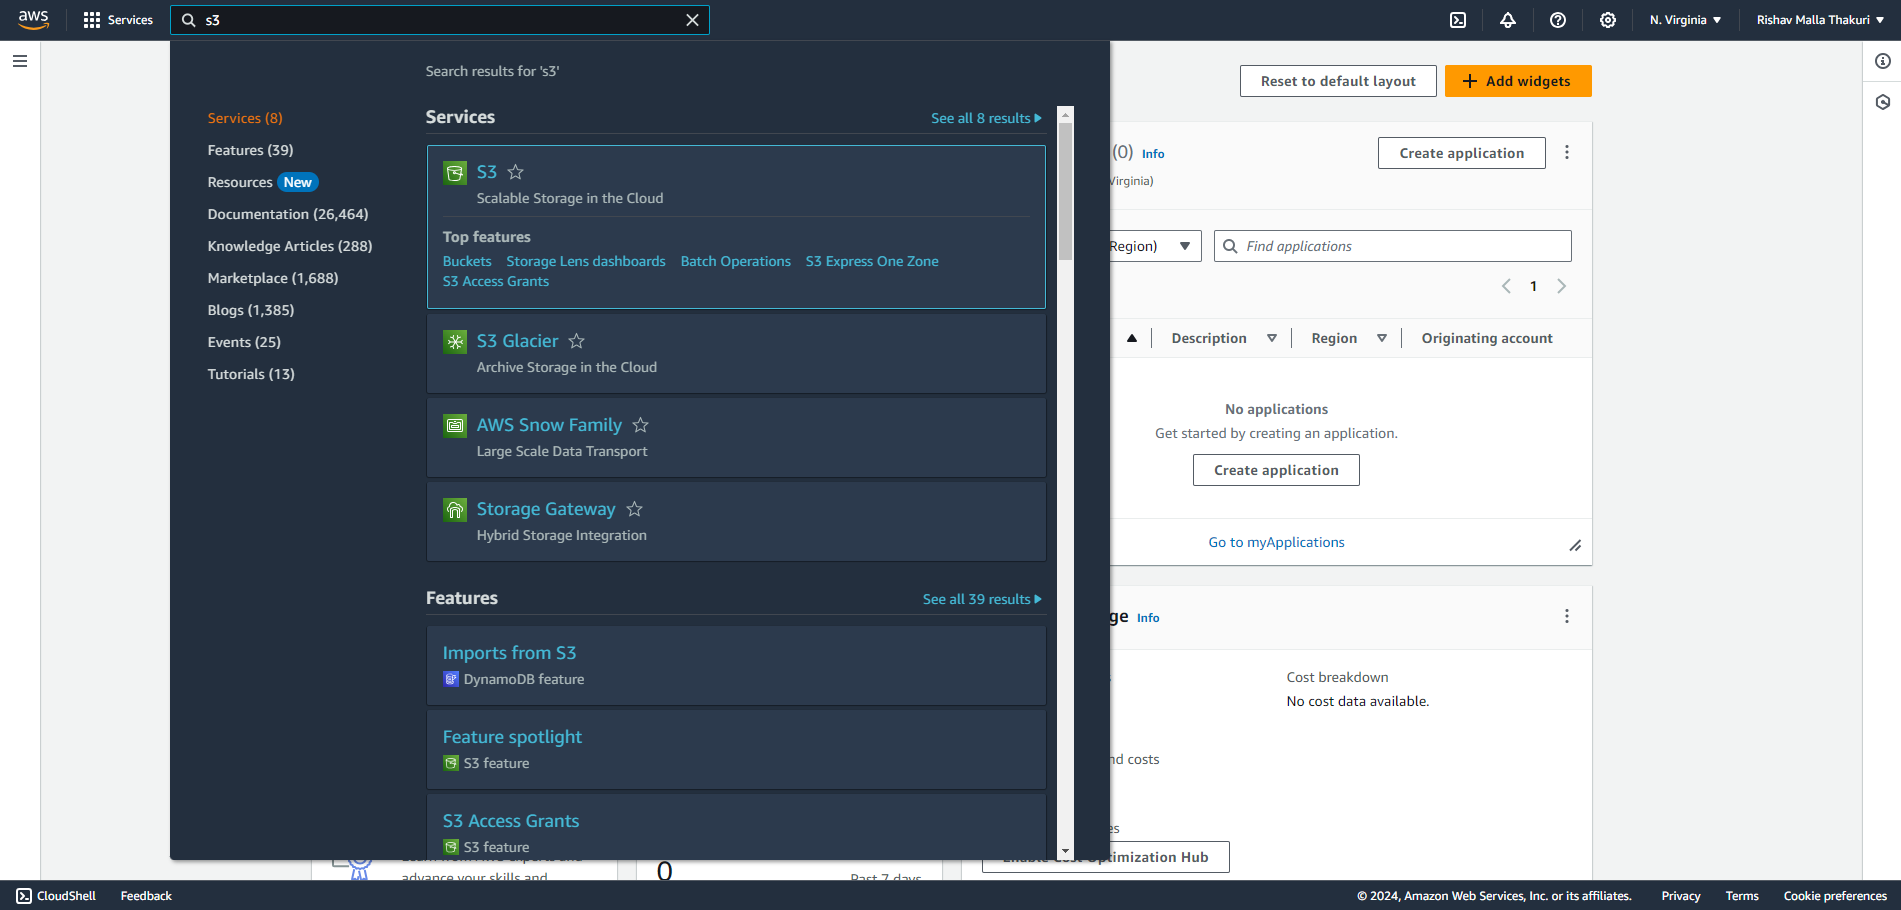
3. Click on the “Create bucket” button.
4. Choose a unique name for your bucket, keeping in mind that it must be globally unique.
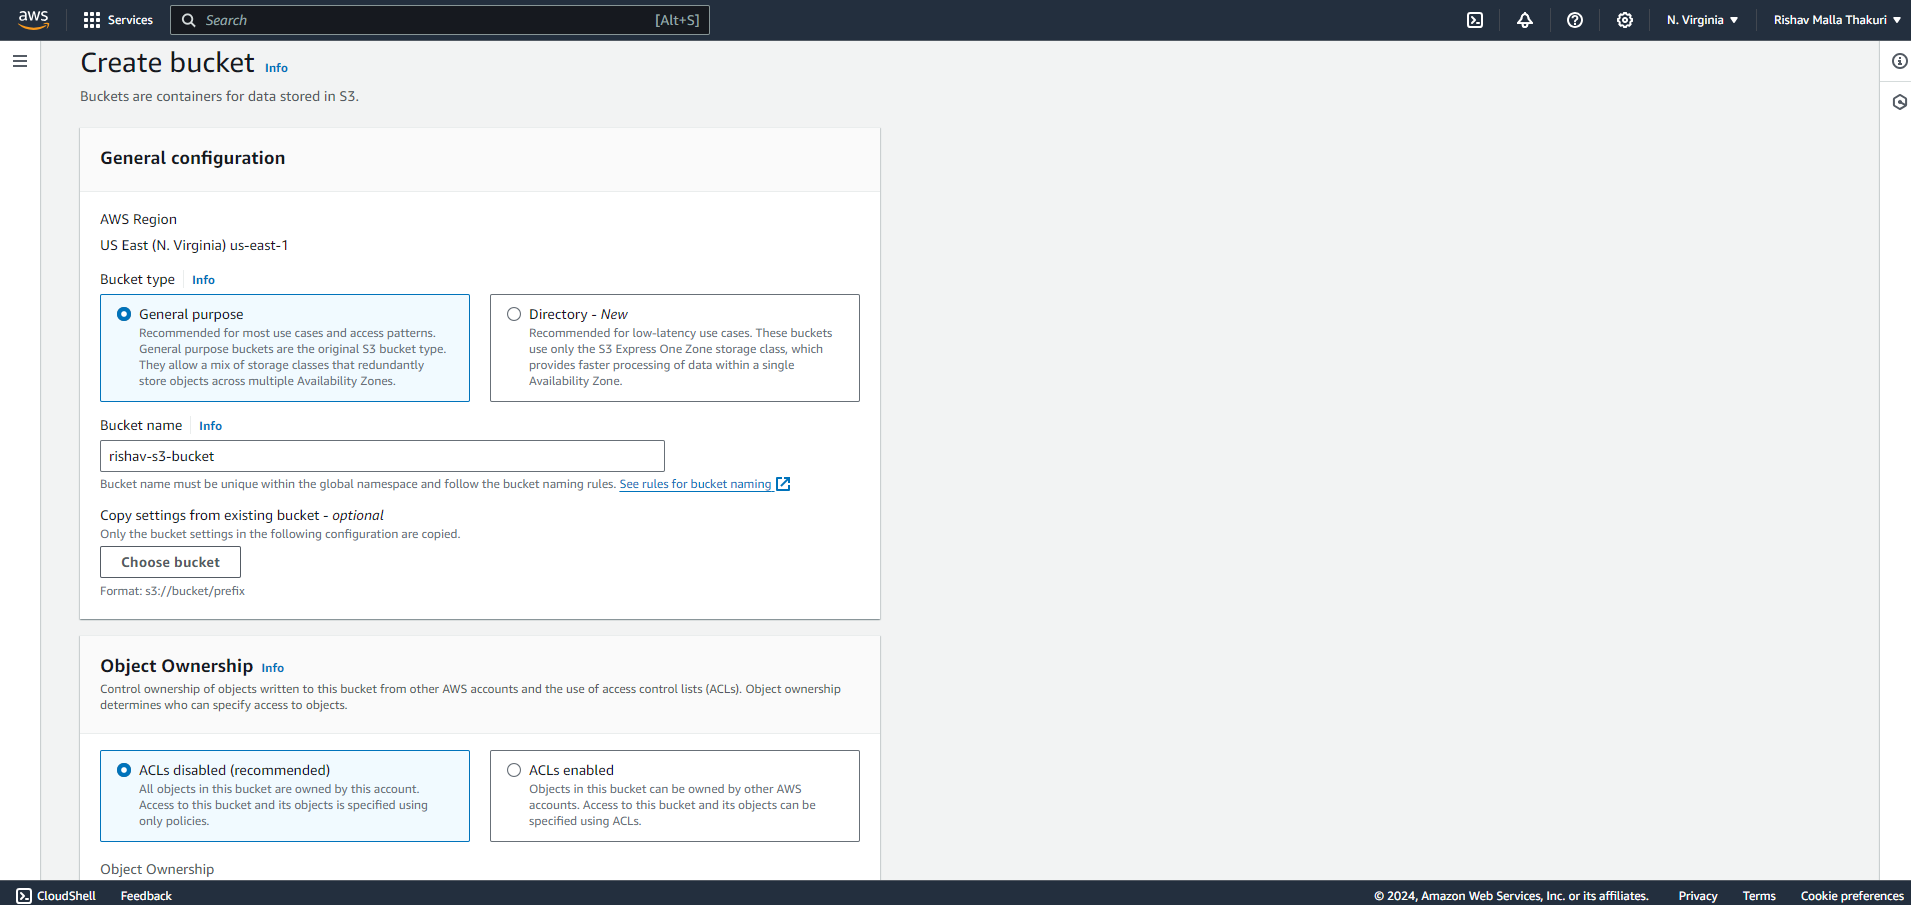
5. Select the region where you want your bucket to be located.
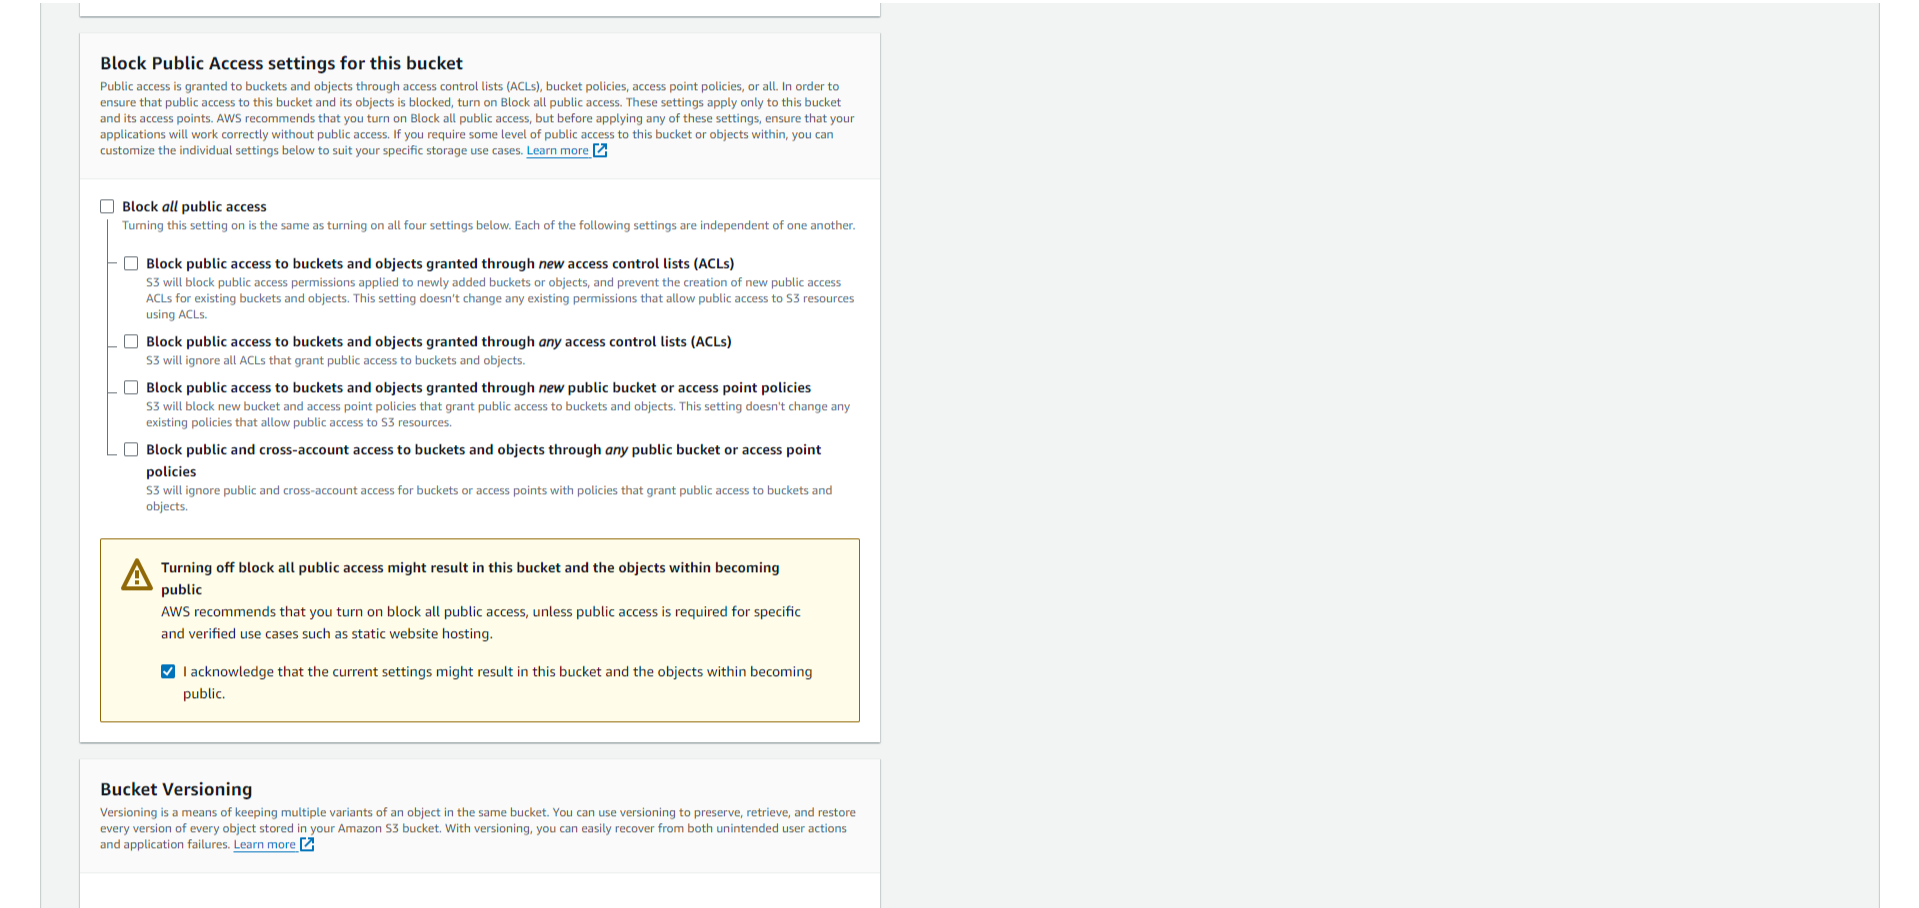
6. Edit Block Public Access settings. Clear Block all public access and make sure bucket versioning are enabled.
7. Leave the default settings unchanged and proceed to create your bucket.
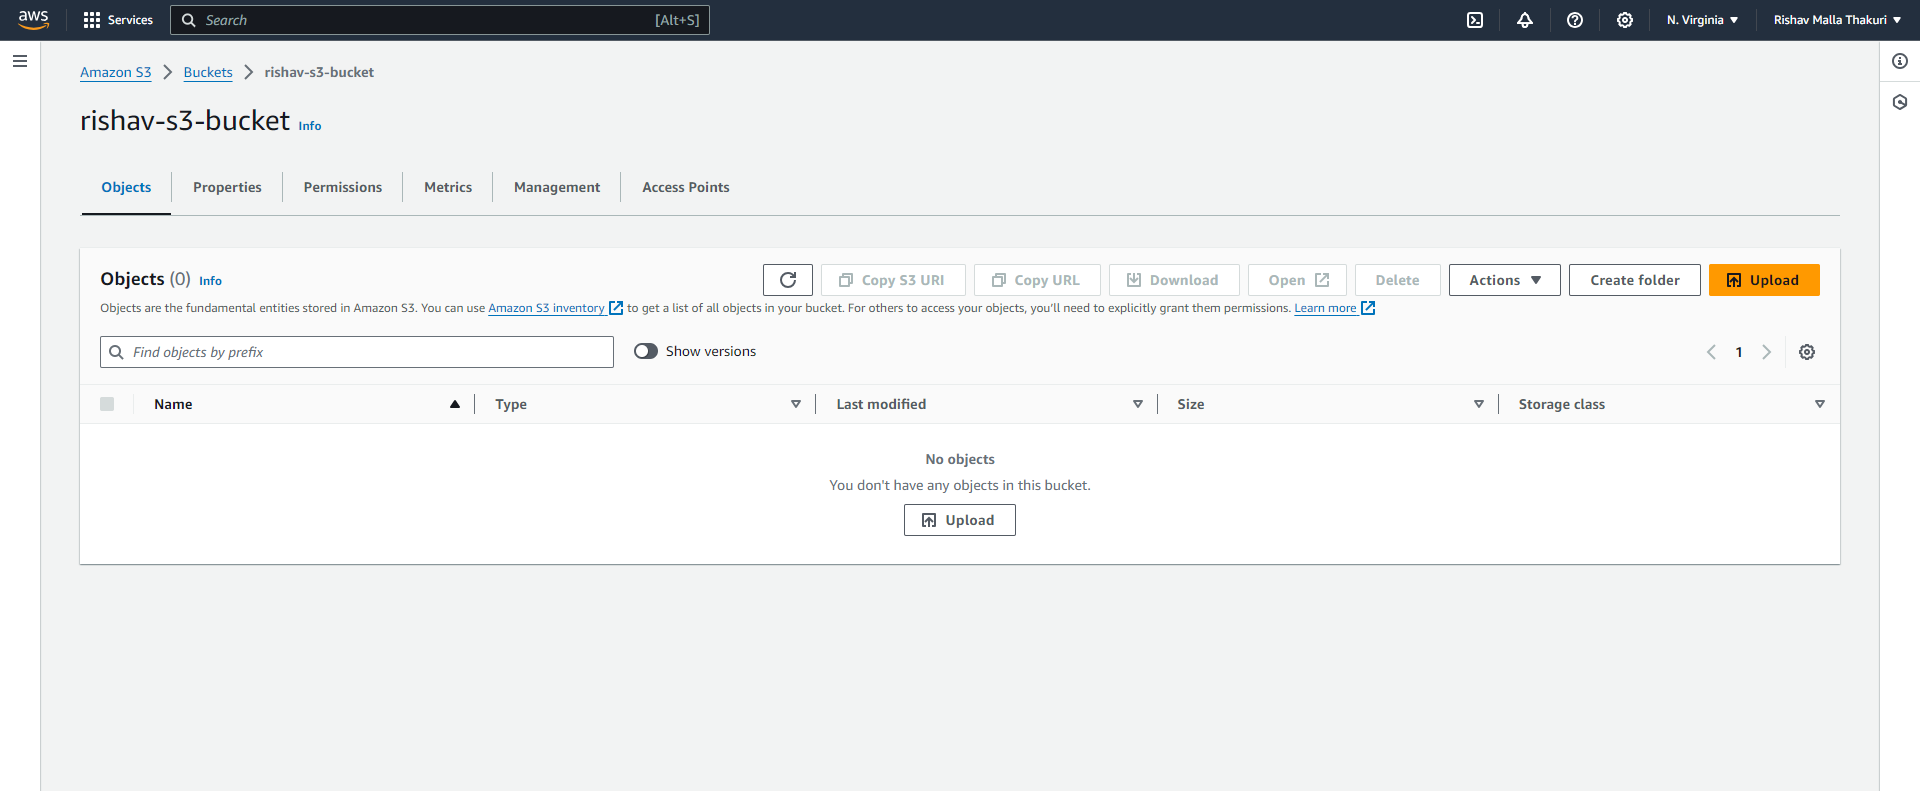
Step 2: Uploading Your Website Files With your bucket set up, it’s time to upload your website files. These typically include HTML, CSS, JavaScript, and any images or other assets your website requires. Here’s how to do it:
- Open your newly created bucket in the Amazon S3 console.
- Click on the “Upload” button.
-
Upload website content to your bucket.
-
Select the files and folders that make up your website from your local computer.Upload the index.html to the bucket.
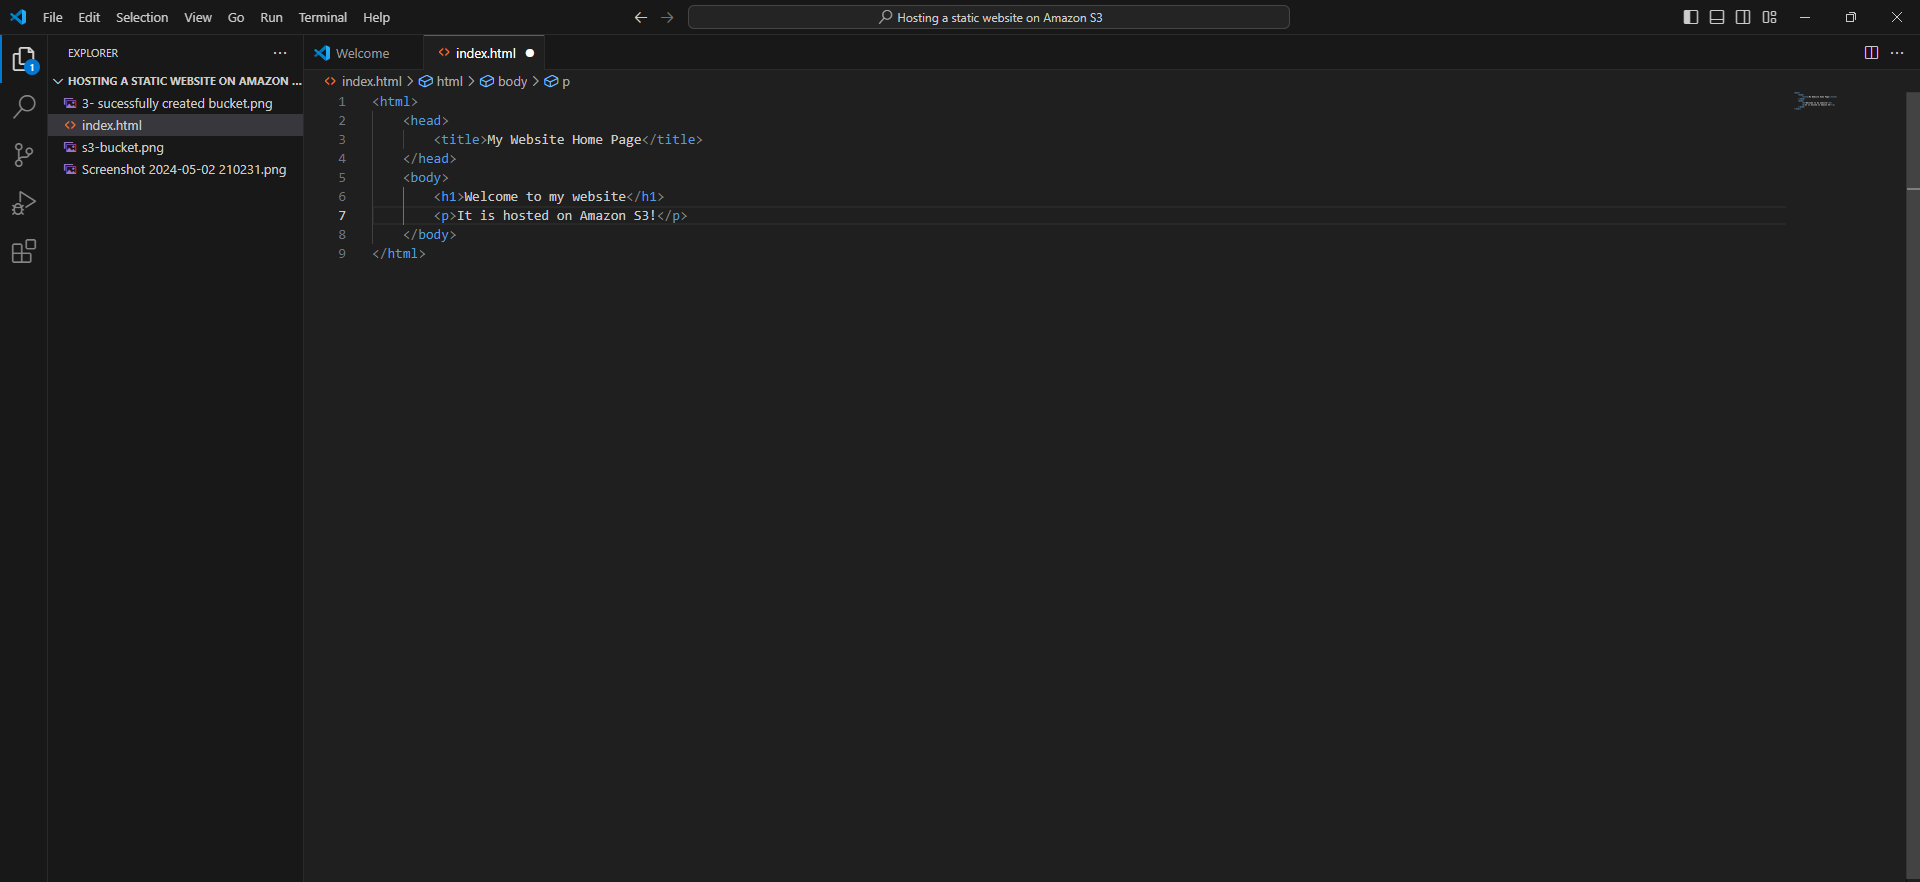
<html>
    <head>
        <title>My Website Home Page</title>
    </head>
    <body>
        <h1>Welcome to my website</h1>
        <p>It is hosted on Amazon S3!</p>
    </body>
</html>
3. Click “Upload” to transfer your files to your S3 bucket.
Step 3: Configuring Your Bucket for Website Hosting Now that your files are uploaded, you need to configure your bucket for website hosting. Follow these steps:
- In the bucket properties, find the “Static website hosting” card. Please see the last option.
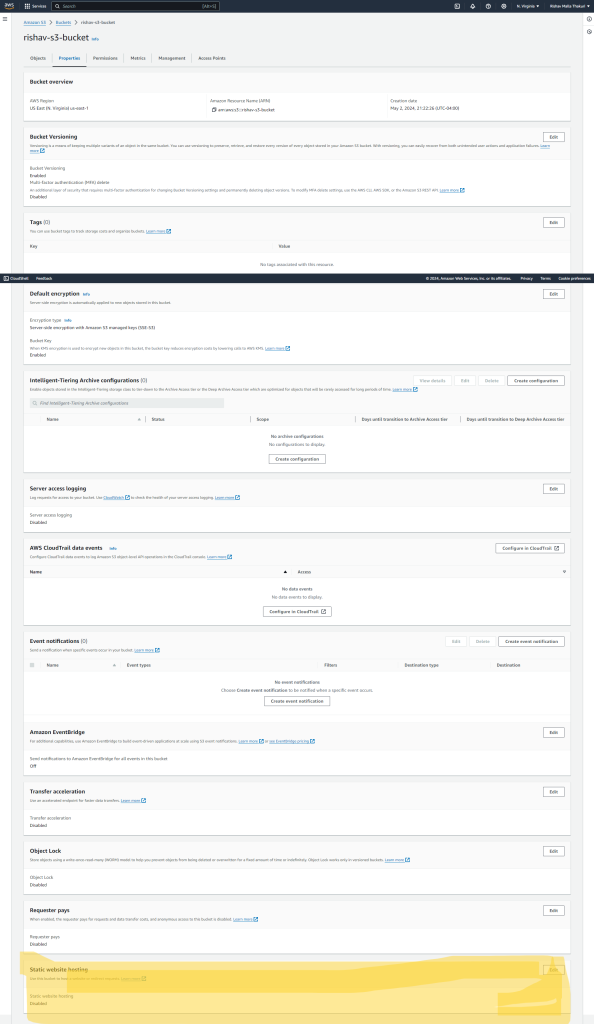
2. Click on “Edit”.
3. Choose the option to “Use this bucket to host a website”.
4. Enter the name of your main HTML file (e.g., index.html) as the index document.
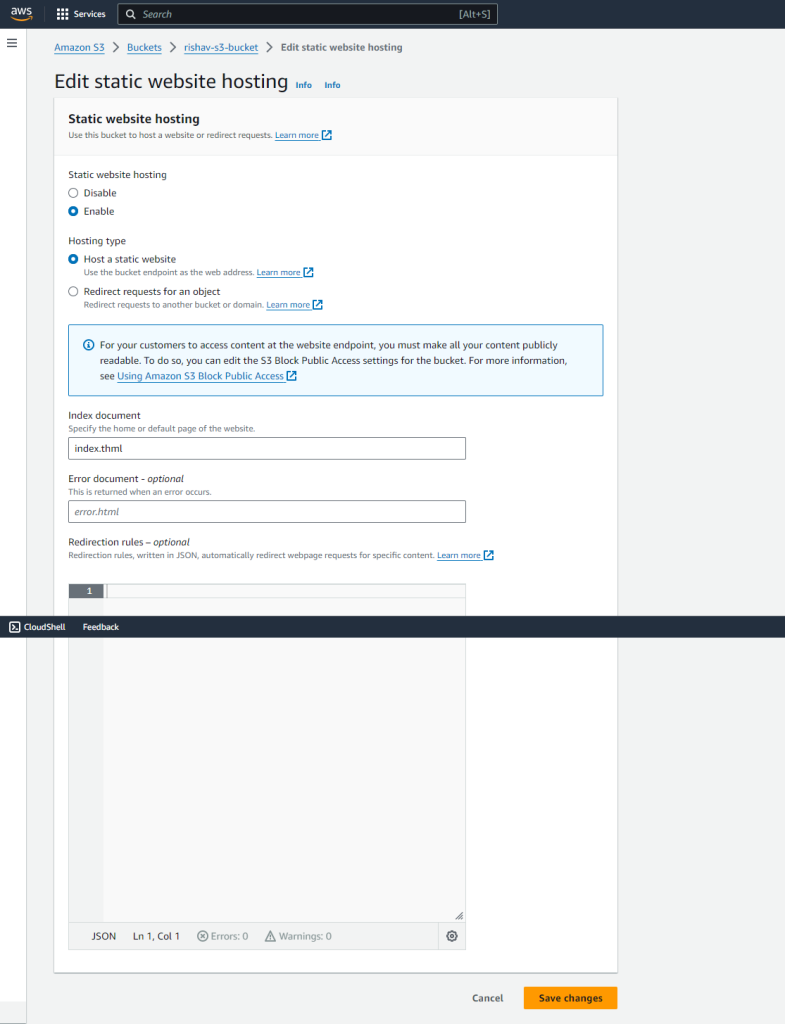
5. Save your changes.
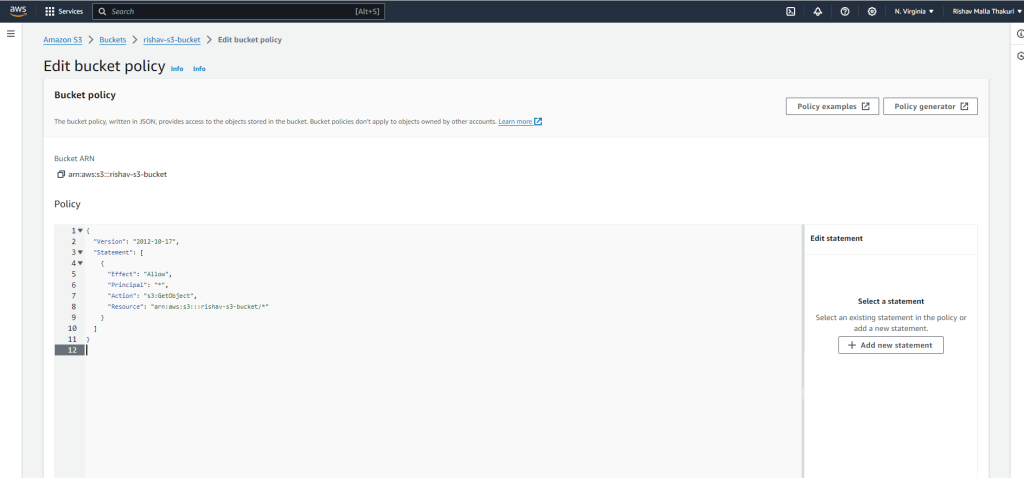
Step 4: Add a bucket policy that makes your bucket content publicly available
- Additionally, you may need to add a bucket policy to grant public read access to your files. You can do this by creating a new bucket policy with the appropriate permissions.
{
    "Version": "2012-10-17",
    "Statement": [
        {
            "Sid": "PublicReadGetObject",
            "Effect": "Allow",
            "Principal": "*",
            "Action": [
                "s3:GetObject"
            ],
            "Resource": [
                "arn:aws:s3:::Bucket-Name/*"
            ]
        }
    ]
}
Step 5: Accessing Your Website
Congratulations! Your static website is now live and ready to be viewed by the world. To access it, simply navigate to the endpoint URL provided in the “Static website hosting” settings of your S3 bucket. This URL will typically be in the format of <bucket-name>.s3-website-<region>.amazonaws.com.

Conclusion:
And there you have it – your very own static website hosted on Amazon S3! With just a few simple steps, you’ve taken your first leap into the world of Cloud. But this is just the beginning. As you continue to explore and learn, the possibilities are endless. So go ahead, experiment, create, and most importantly, have fun on your journey to becoming a web developer!