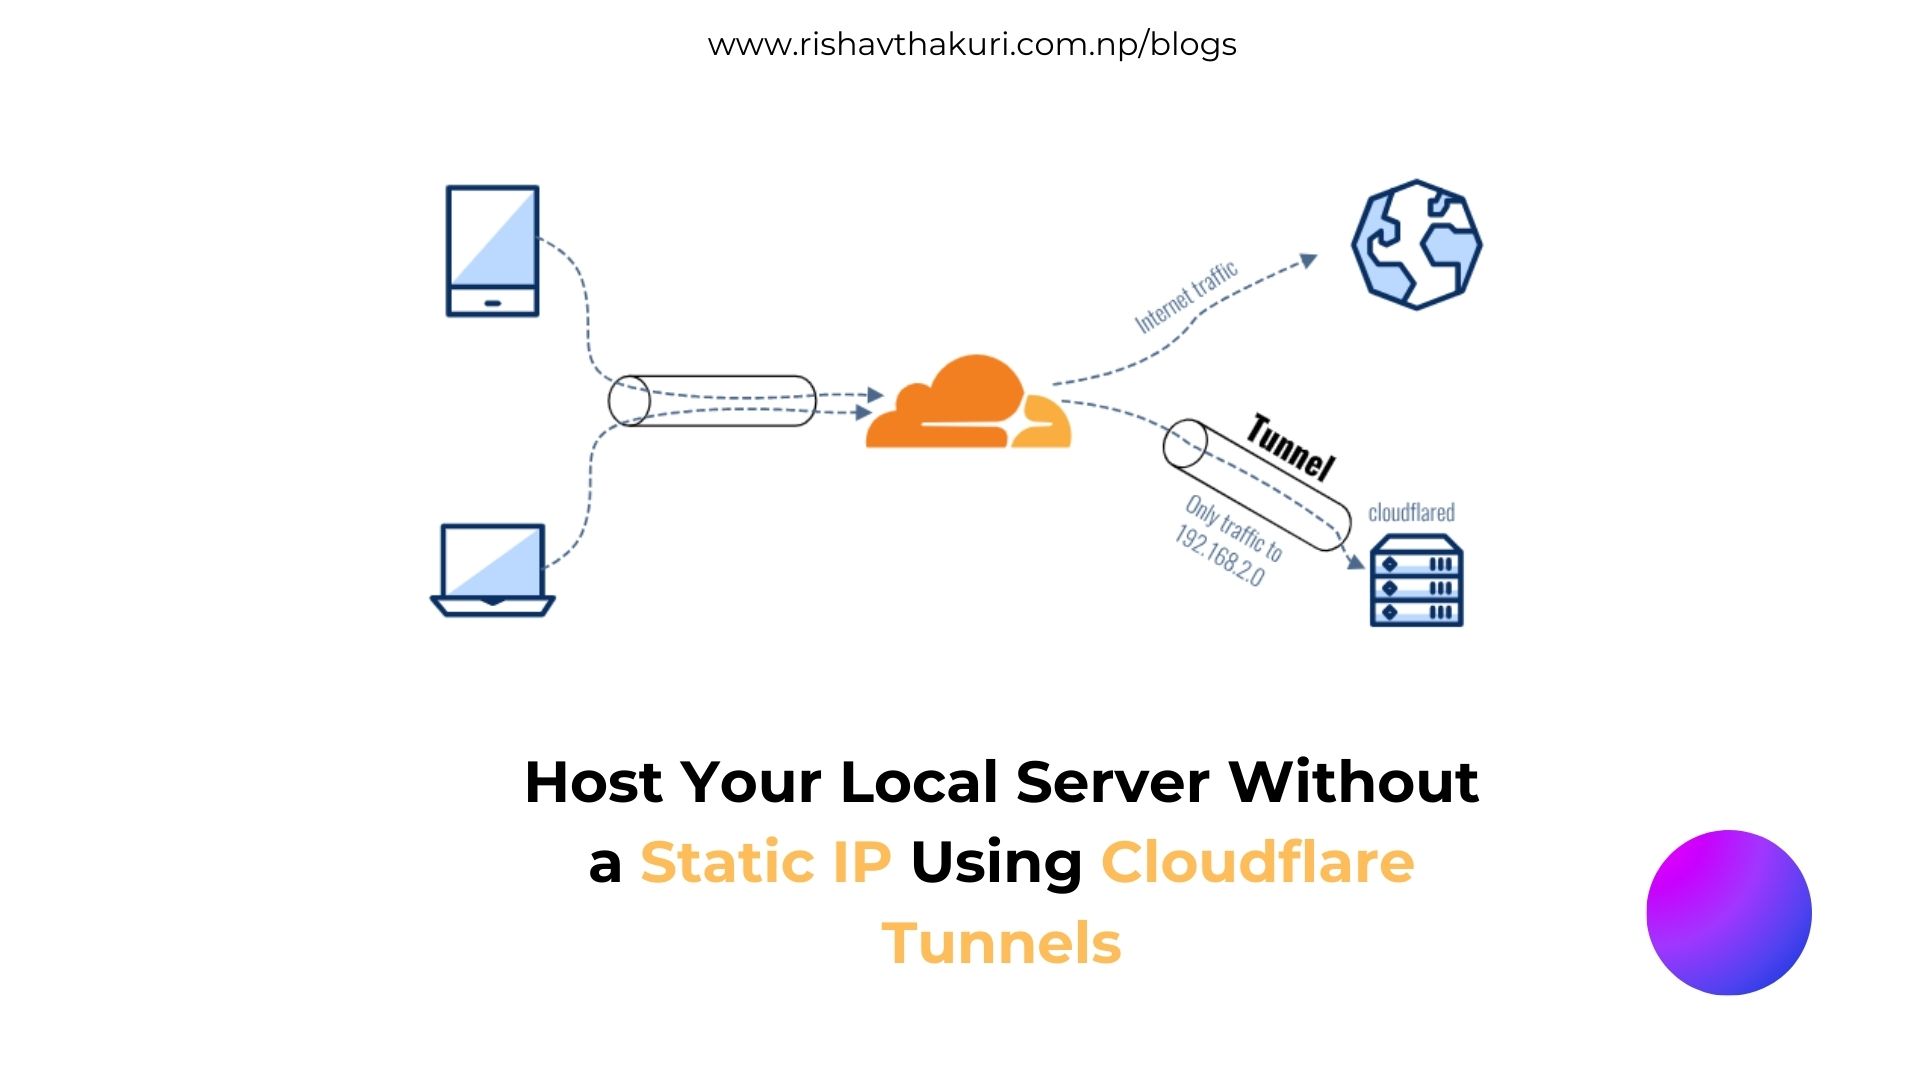
Host Your Local Server Without a Static IP Using Cloudflare Tunnels
Host Your Local Server Without a Static IP Using Cloudflare Tunnels
Self-hosting your applications or websites from home offers great control and flexibility, but it also presents challenges like exposing your IP address, maintaining security, and managing dynamic IPs. Cloudflare Tunnels offer a solution to these problems by securely exposing your local web server to the internet without requiring a static IP or port forwarding on your router.
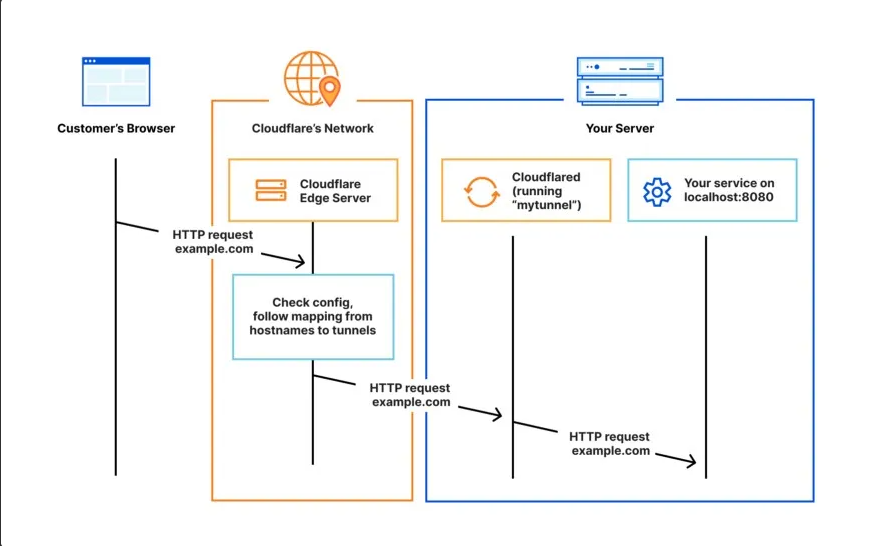
In this blog, we’ll walk you through the step-by-step process of setting up a free, secure, self-hosting environment using Cloudflare Tunnels.
Prerequisites:
Before getting started, ensure you have the following:
- A domain name.
- Domain nameservers configured to point to Cloudflare.
- Cloudflare account access.
- An application or website running on your local server (e.g., using XAMPP, WAMP, or another server stack).
Step 1: Download and Install Cloudflared
Cloudflared is a lightweight command-line tool that you use to establish secure tunnels.
- Download Cloudflared:
- Visit the Cloudflare Downloads page and choose the appropriate version for your operating system.
- Install Cloudflared:
- Rename the downloaded executable to
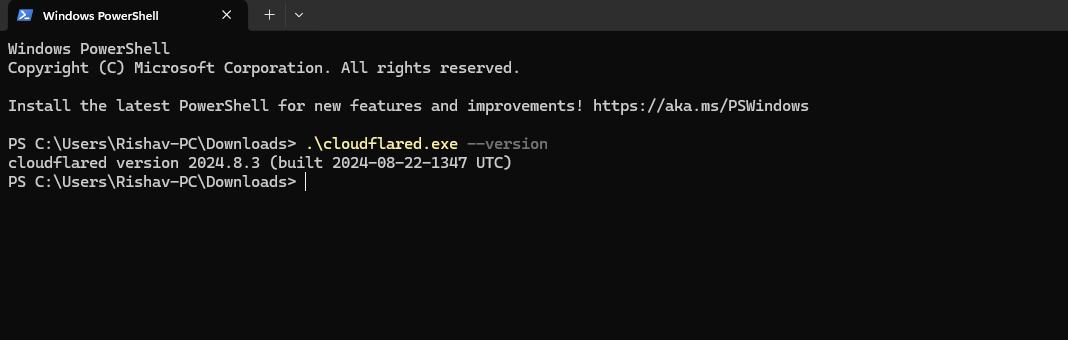
cloudflared.exe. - Open PowerShell or Command Prompt and navigate to the location where
cloudflared.exeis located. - Run the following command to verify the installation:
\cloudflared.exe --version
- Rename the downloaded executable to
Step 2: Authenticate Cloudflared
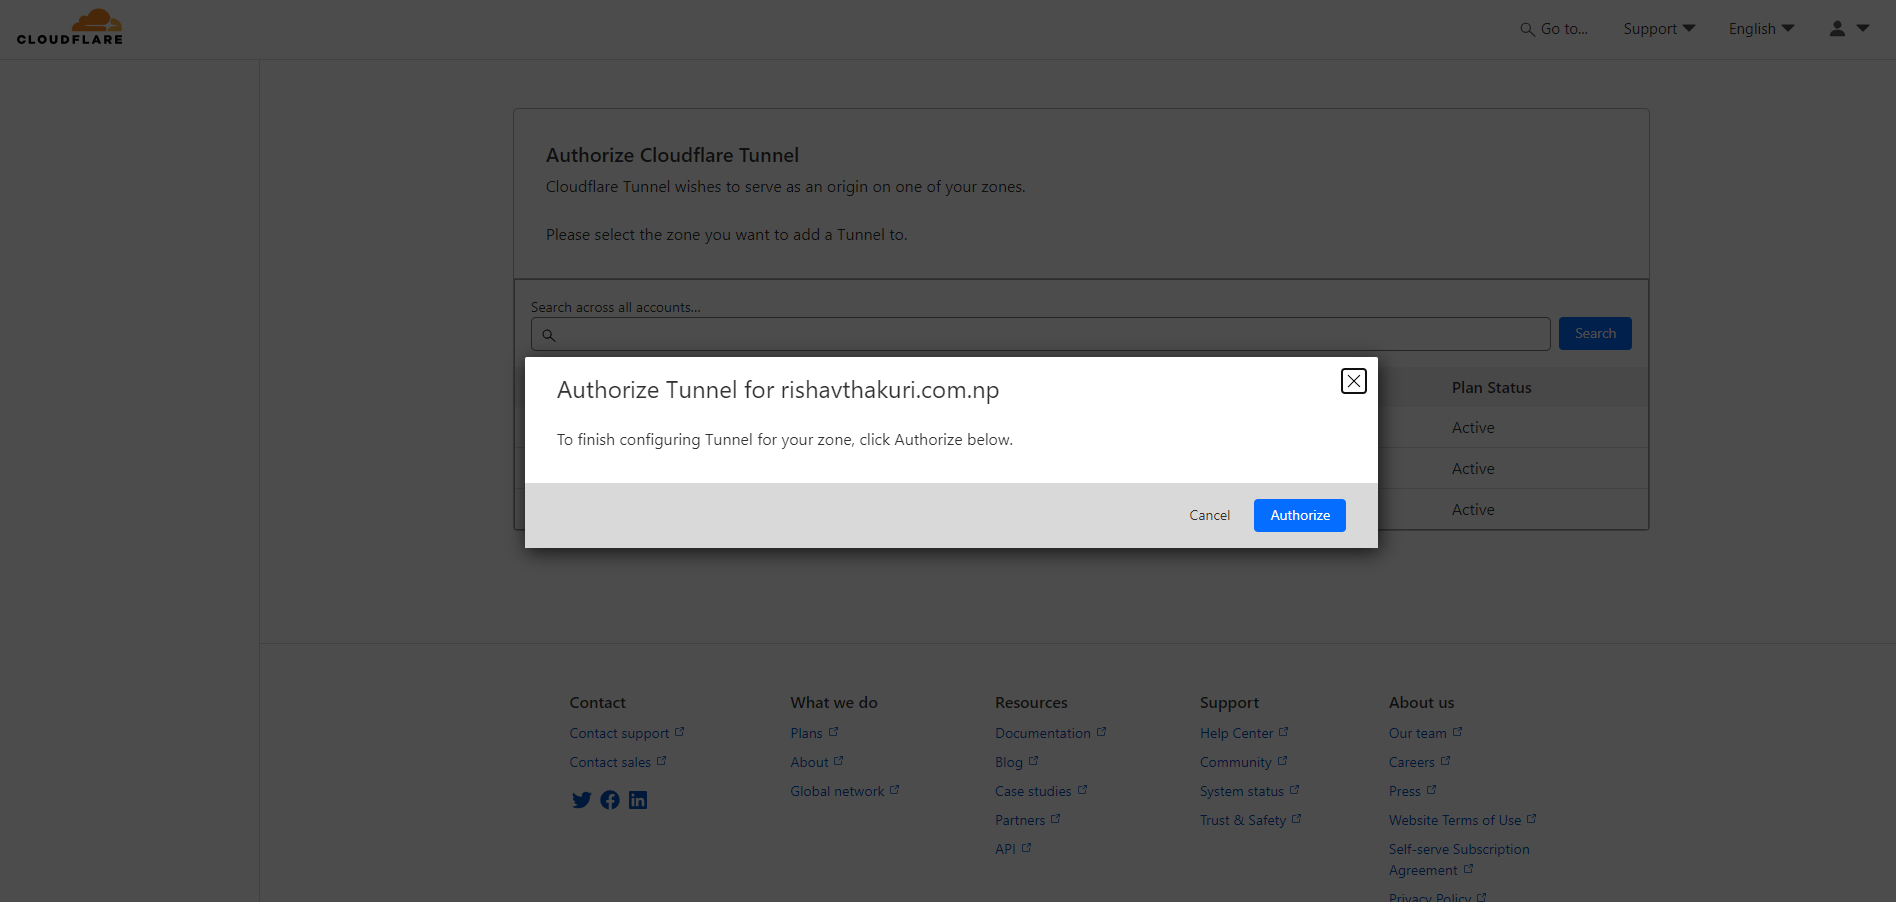
- Log in to Your Cloudflare Account:
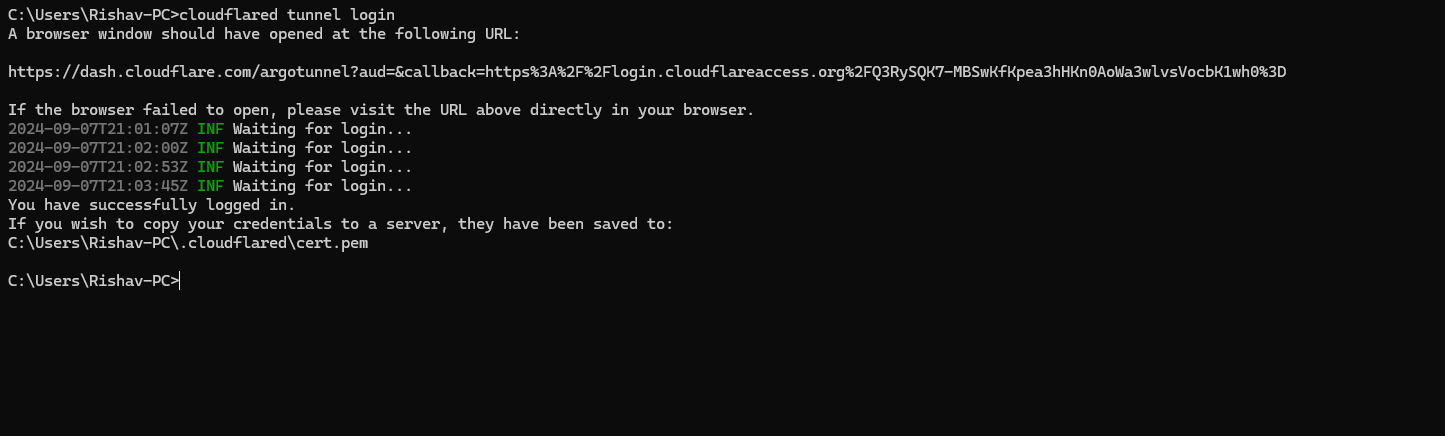
- Run the following command:
cloudflared tunnel login - This command will open a browser window prompting you to log in to your Cloudflare account and authorize Cloudflare Tunnel for your domain.
- Run the following command:
Generate the Certificate:
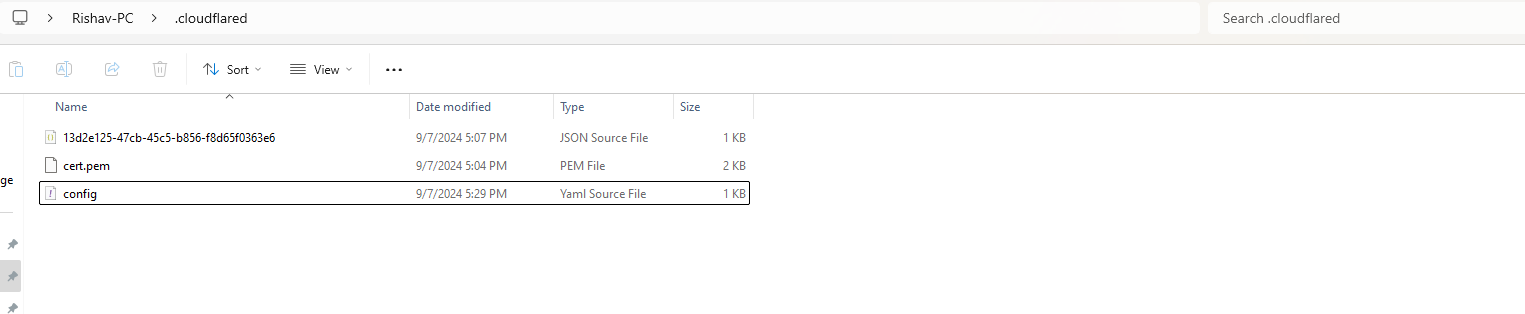
- After successful authentication, Cloudflare will generate an account certificate (
cert.pem) and save it in the default cloudflared directory. ( C:\users\Rishav-PC\.cloudflared\cert.pem)
Step 3: Create a Tunnel
- Create the Tunnel:
- Run the following command to create a new tunnel and give it a name (e.g., hosttesting):
cloudflared tunnel create hosttesting
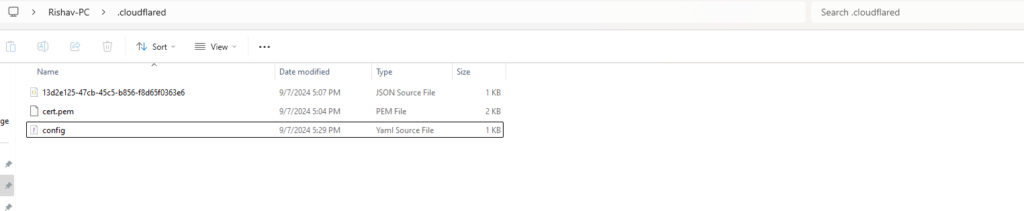
- This creates a tunnel with a unique ID (UUID) and generates a tunnel credentials file (JSON).
- We can check the C:\users\Rishav-PC\.cloudflared directory that the json file is created.
- Run the following command to create a new tunnel and give it a name (e.g., hosttesting):
- Confirm the Tunnel Creation:
Run the following command to verify:
cloudflared tunnel list
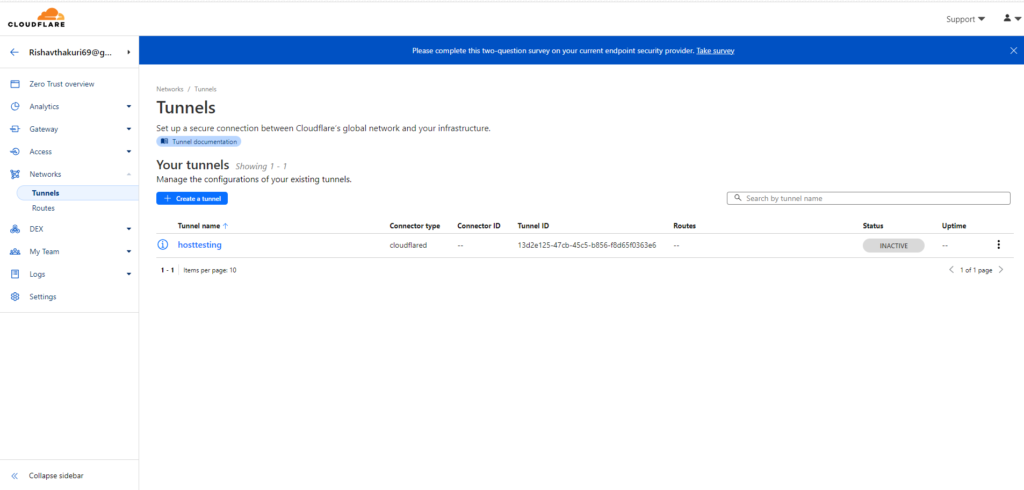
- Also verify the creation of Tunnel in the Cloudflare zero Trust. Just login to Cloudflare and from the left menu select Cloudflare Zero trust . Then select Tunnels within the Network from the Menu.

Step 4: Create a Configuration File
- Navigate to the Cloudflared Directory:
- Go to the
.cloudflareddirectory (e.g.,C:\Users\Rishav-PC\.cloudflared).
- Go to the
- Create a
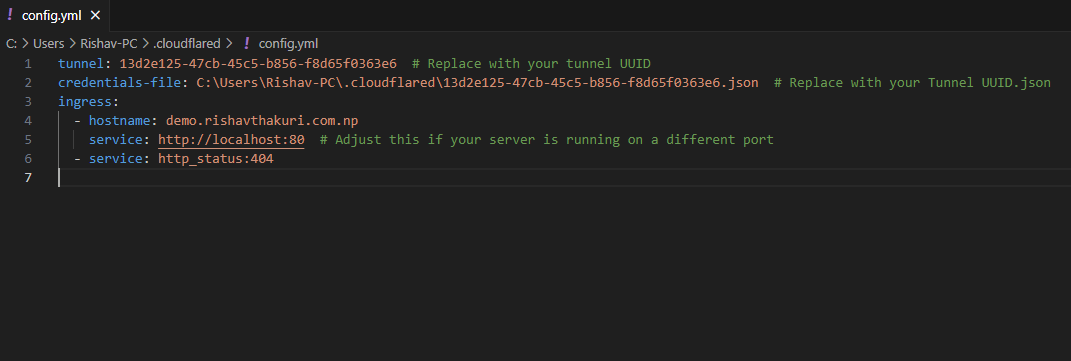
config.ymlFile:- Open a text editor (like Notepad) and create a file named
config.ymlin the.cloudflareddirectory. - Add the following configuration for your application and save the file.

- Open a text editor (like Notepad) and create a file named
Step 5: Assign a DNS Record
- Route Traffic to Your Tunnel:
- Run the following command to create a DNS route:
cloudflared tunnel route dns <UUID or NAME> <hostname>Example: cloudflared tunnel route dns 13d2e125-47cb-45c5-b856-f8d65f0363e6 demo.rishavthakuri.com.np

- Replace
mytunnelwith the tunnel name anddemo.rishavthakuri.com.npwith your hostname.
- Run the following command to create a DNS route:
2 .Route Traffic to a Private Network
If you want to connect a private network (e.g., an internal IP address or a range of IP addresses), you can route traffic using an IP address or CIDR.
cloudflared tunnel route ip add <IP/CIDR> <UUID or NAME>. ( Note: Check the Private ip of your host server network. Here mine was: 192.168.2.0/24)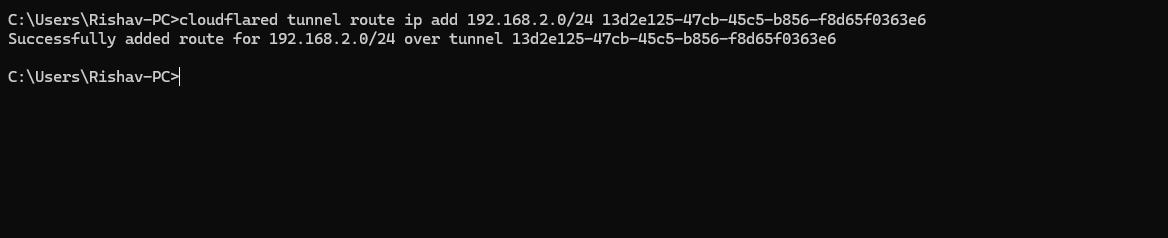
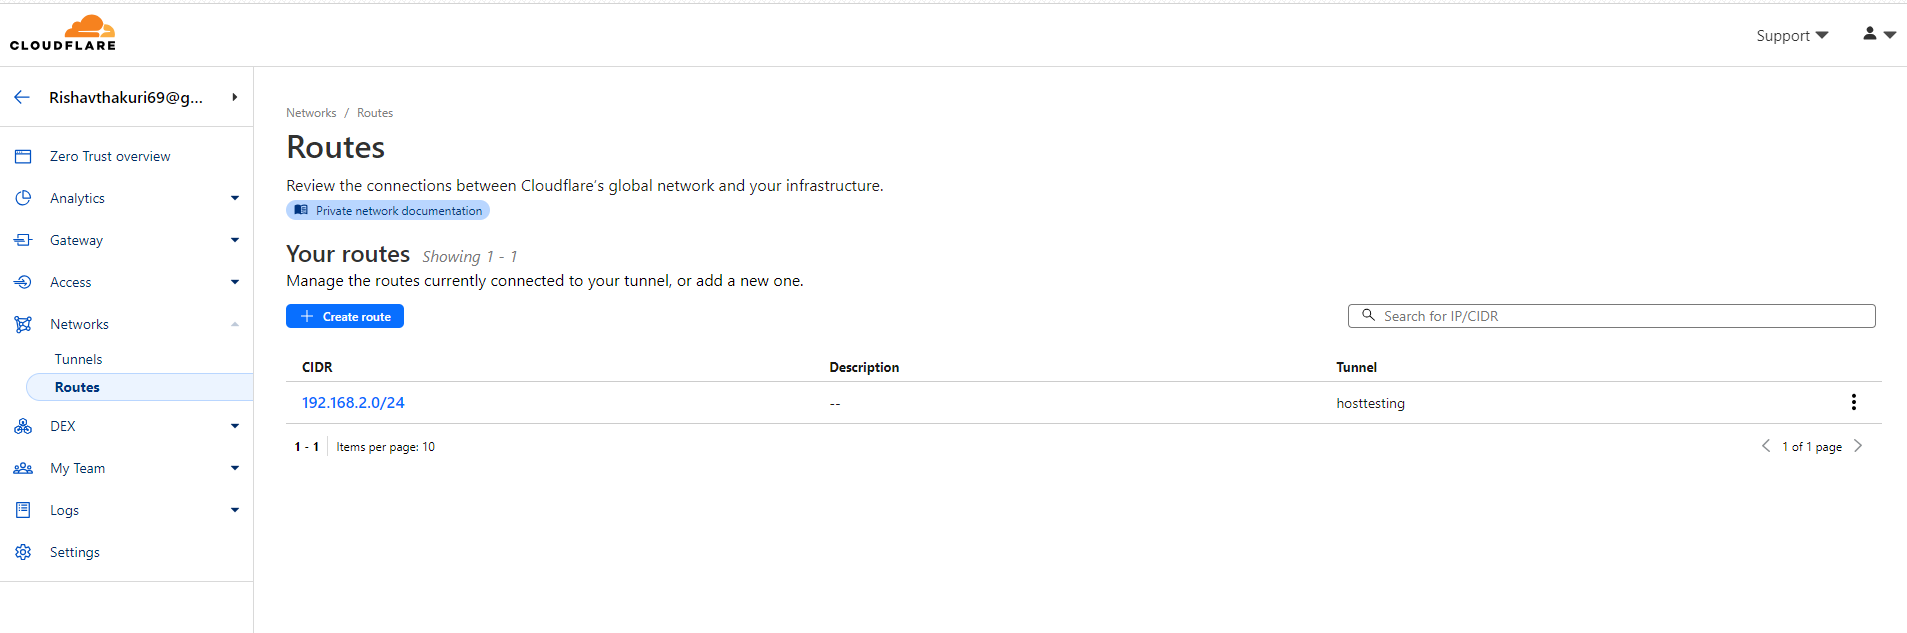
3. Confirm the Route
To confirm that the route has been successfully established, use the following command:
cloudflared tunnel route ip show
This command will display all the IP routes configured for your tunnel, confirming whether the traffic routing is set up correctly.

-
You can also check the from the Cloudflare Zero Trust Menu in the Routes that the Route is added in the list.
Step 6: Run the Tunnel
- Run the Tunnel:
- Start the tunnel to proxy incoming traffic to your local server:
cloudflared tunnel run hosttesting or Tunnel ID
- Start the tunnel to proxy incoming traffic to your local server:
Step 7: Check the tunnel
Your tunnel configuration is complete! If you want to get information on the tunnel you just created, you can run:
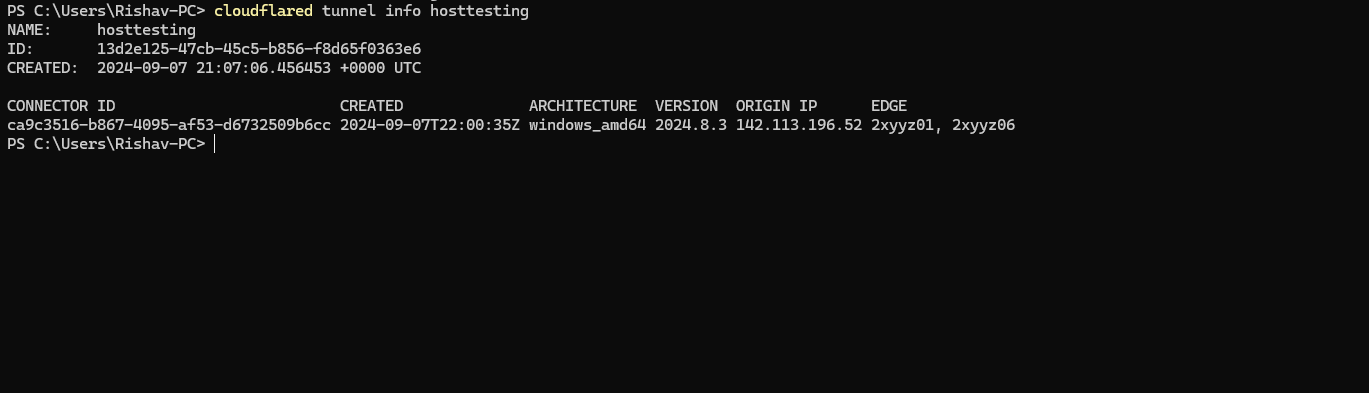
Finally, Here we can access the demo.rishavthakuri.com.np website which is hosted in local machine.
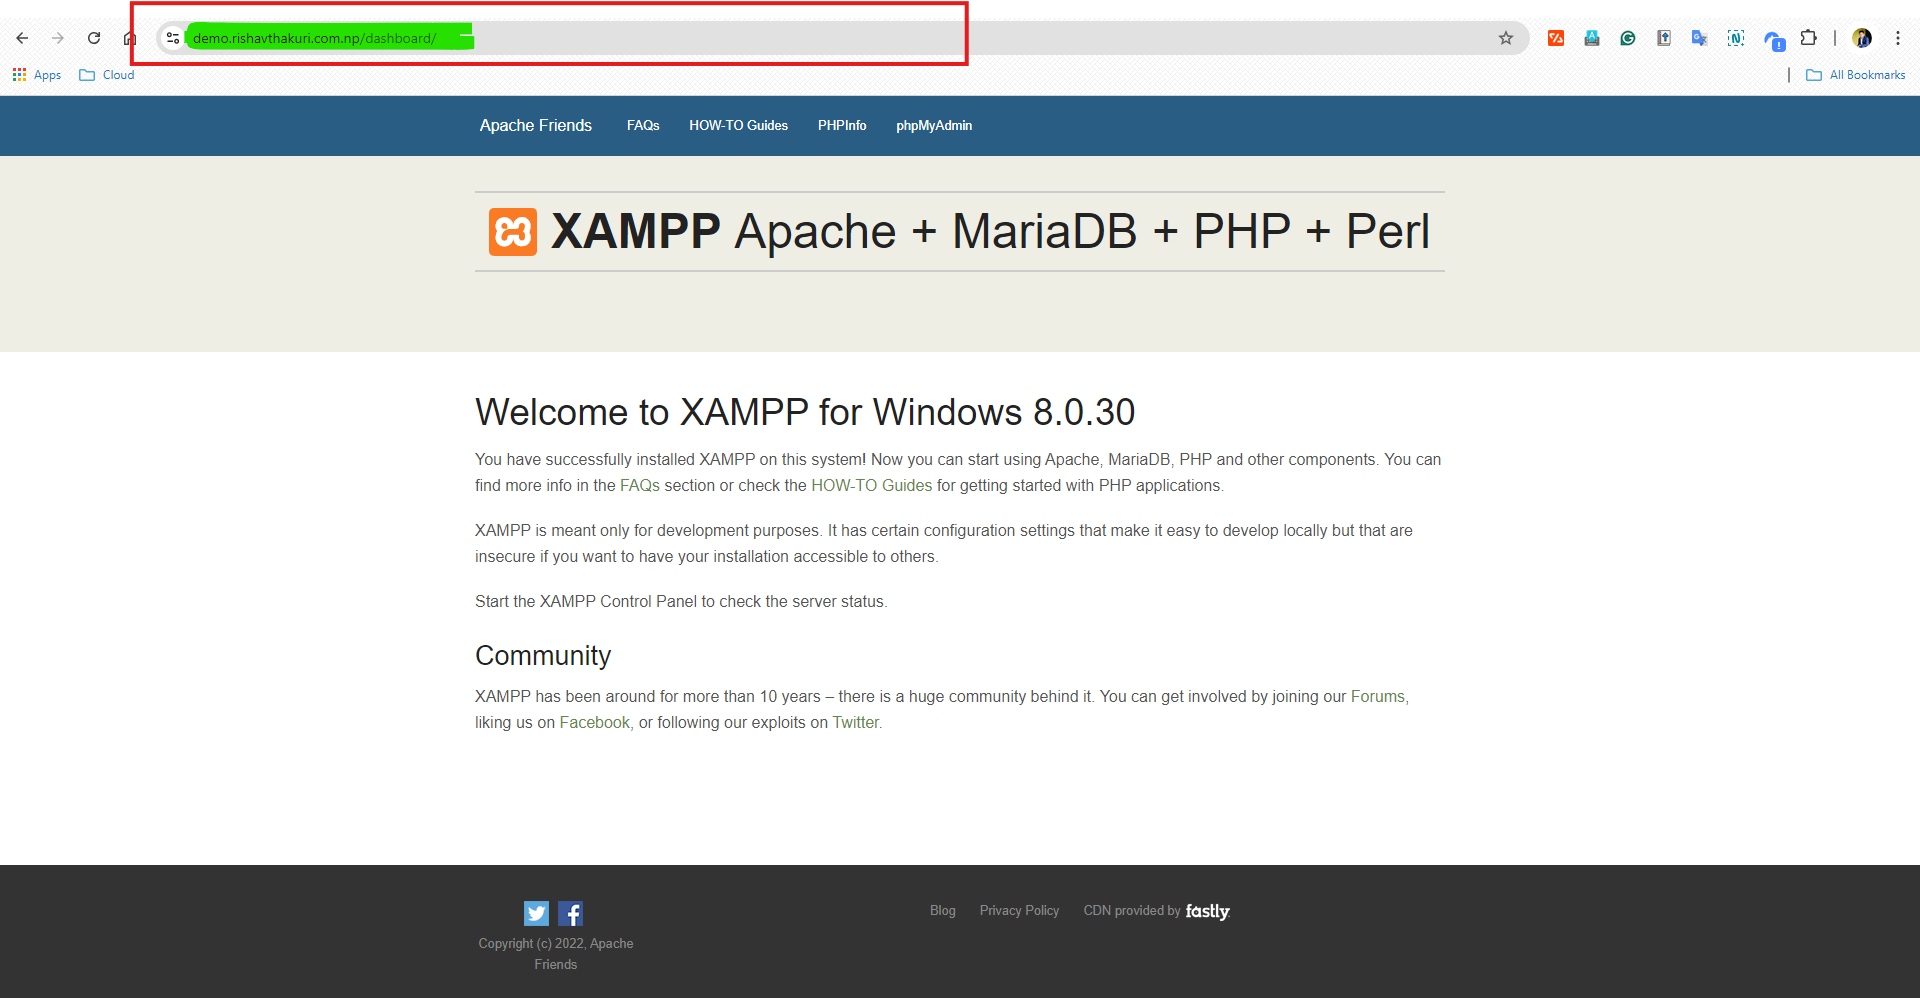
After following the steps outlined above, you have successfully hosted your website demo.rishavthakuri.com.np on your local server, making it accessible to the internet without the need for a static IP address. By leveraging Cloudflare Tunnels, you have established a secure and reliable connection that protects your server while providing seamless access to your site. This approach not only saves costs but also simplifies the complexities of traditional hosting methods, offering a robust solution for anyone looking to self-host a website or application from a local environment.With your site now live and secure, you can explore additional Cloudflare features to enhance performance, security, and scalability, ensuring your local hosting setup remains efficient and resilient for the long term.