Hosting Static Website using Terraform and AWS
Terraform is an open-source infrastructure as code (IaC) tool developed by HashiCorp. It allows users to define and provision data center infrastructure using a high-level configuration language called HashiCorp Configuration Language (HCL) or optionally JSON. Terraform manages external resources (such as public cloud infrastructure, private cloud infrastructure, network appliances, software as a service, and platform as a service) with a “provider” model.
1) Creating a Virtual Machine in Azure
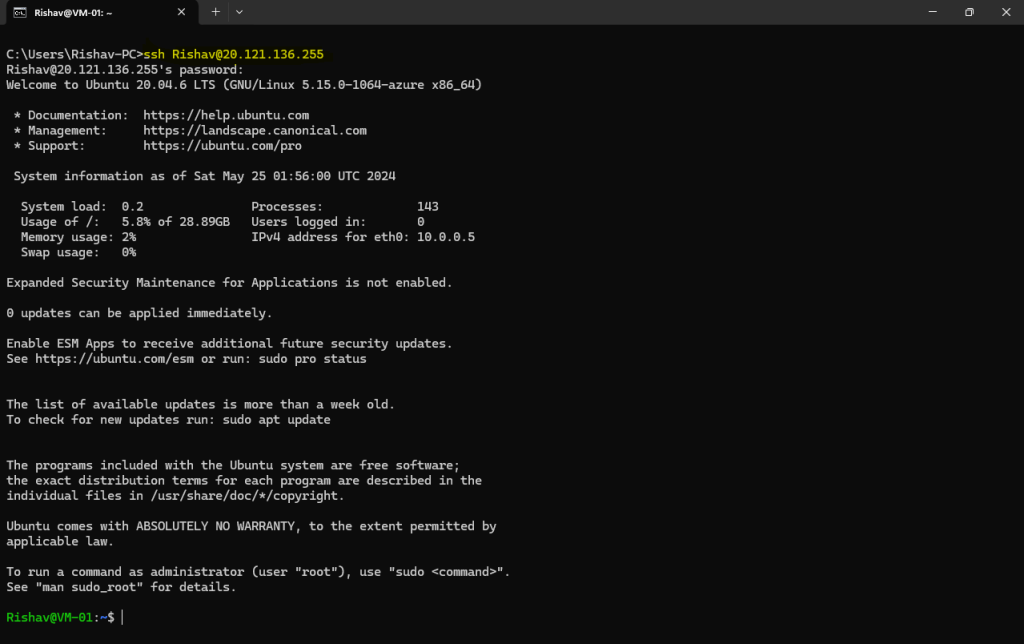
First, we need to create a virtual machine (VM) in Microsoft Azure, selecting a Linux distribution such as Ubuntu. This involves configuring basic settings, including specifying the resource group, VM name, region, image, size, and authentication method, usually using an SSH key for secure access. After configuring the network settings, such as assigning a public IP and creating or selecting a virtual network and subnet, the VM is deployed.

After deploying the VM, connect to the machine using SSH.
2) Installing Terraform in Ubuntu
Terraform can be installed in Ubuntu with the following command:
Ensure that your system is up to date and you have installed the gnupg, software-properties-common, and curl packages installed. You will use these packages to verify HashiCorp’s GPG signature and install HashiCorp’s Debian package repository.
sudo apt-get update && sudo apt-get install -y gnupg software-properties-common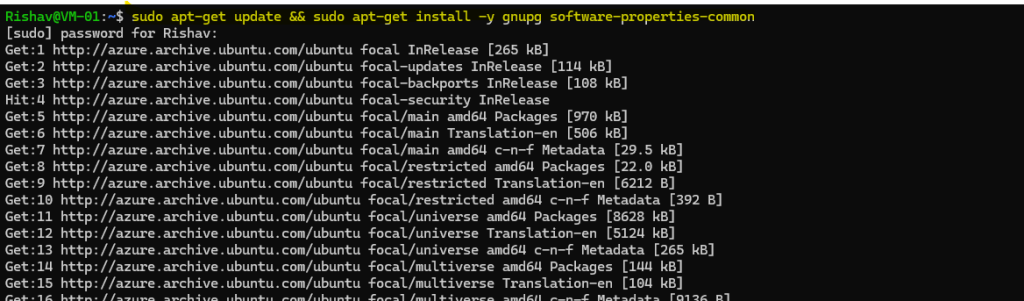
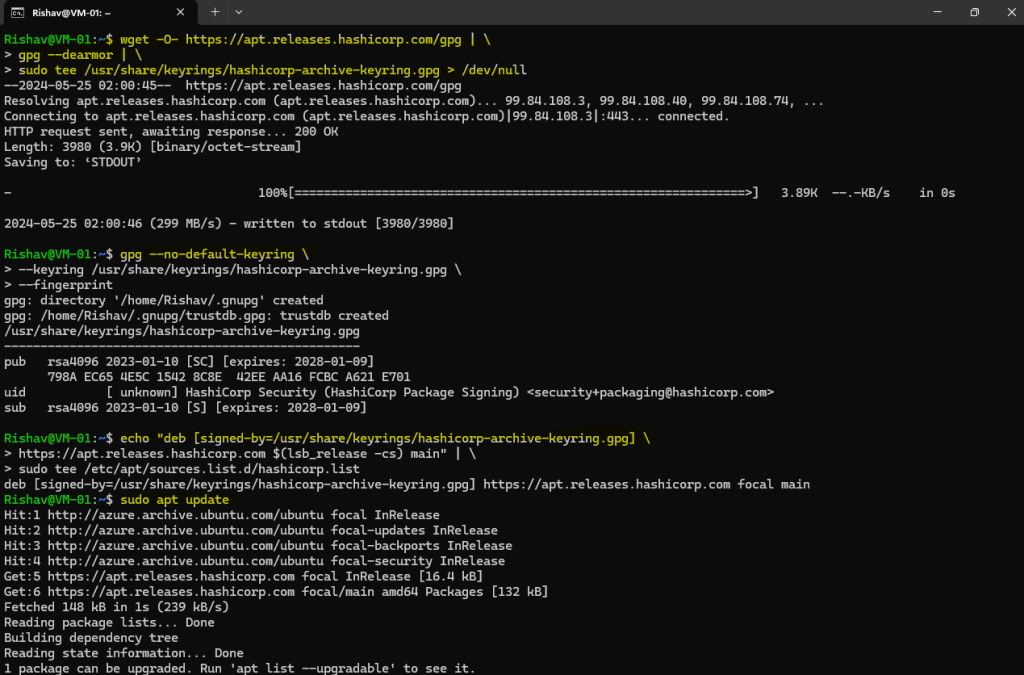
Install the HashiCorp GPG key.
wget -O- https://apt.releases.hashicorp.com/gpg | \
gpg --dearmor | \
sudo tee /usr/share/keyrings/hashicorp-archive-keyring.gpg > /dev/null
Verify the key’s fingerprint.
gpg --no-default-keyring \
--keyring /usr/share/keyrings/hashicorp-archive-keyring.gpg \
--fingerprint
The gpg command will report the key fingerprint:

Add the official HashiCorp repository to your system. The lsb_release -cs command finds the distribution release codename for your current system, such as buster, groovy, or sid.
echo "deb [signed-by=/usr/share/keyrings/hashicorp-archive-keyring.gpg] \
https://apt.releases.hashicorp.com $(lsb_release -cs) main" | \
sudo tee /etc/apt/sources.list.d/hashicorp.list
Download the package information from HashiCorp.
sudo apt updateInstall Terraform from the new repository.
sudo apt-get install terraform
Verifying the installation

3) Connecting to AWS
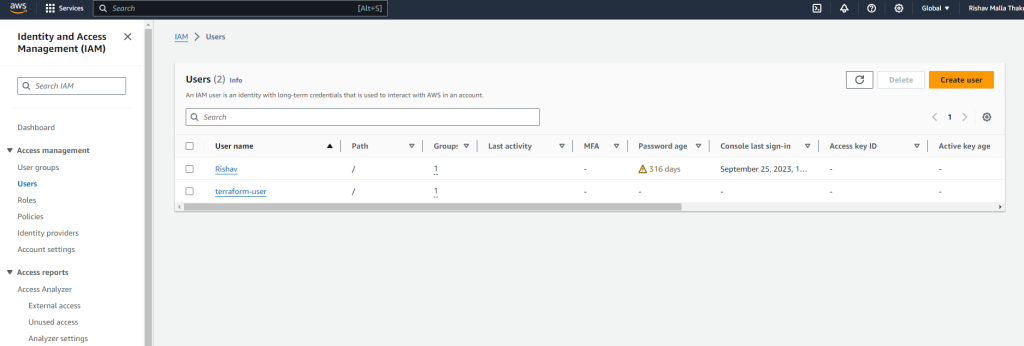
Now, here we are creating New user terraform-user and giving full access to the ec2 to this user.
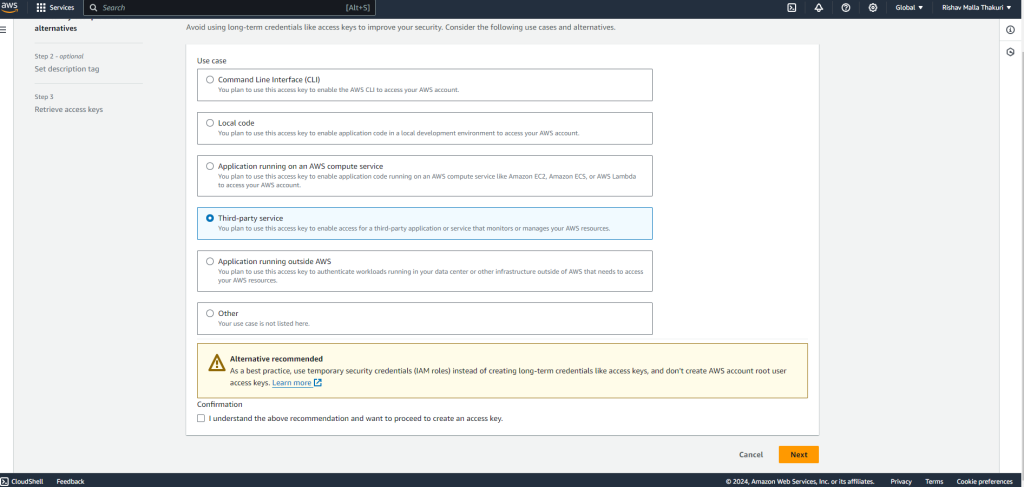
Here we are creating access keys and third-party services are essential for secure and efficient operations.
4) Set Up Terraform Configuration
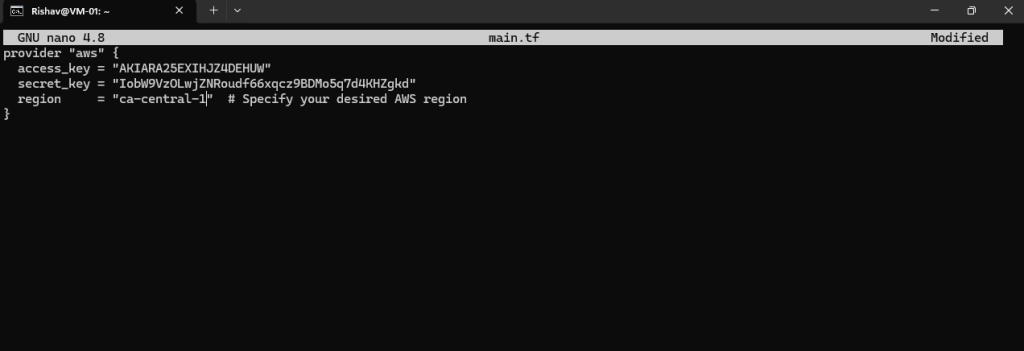
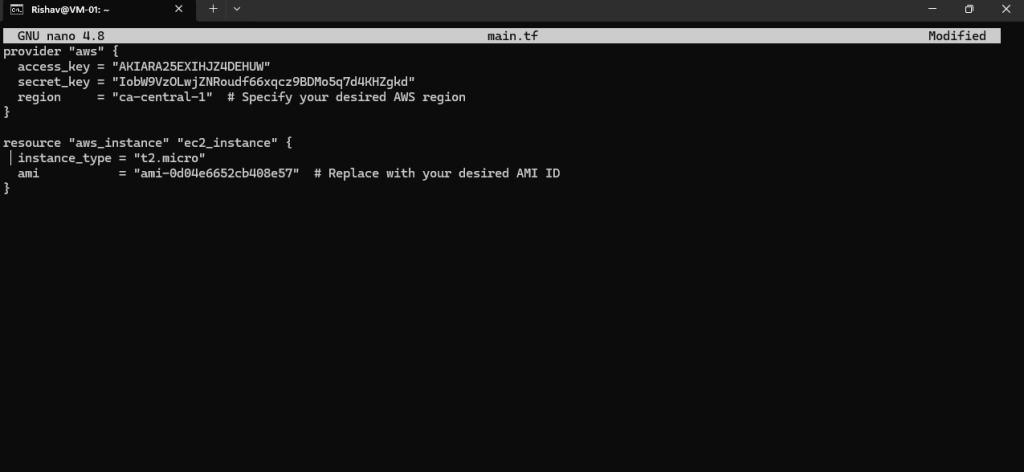
Creating a new directory i.e. terraform-ece for our Terraform Project. Then inside the directory we create a terraform file name main.tf to define our infrastructure. Terraform configurations are written in HashiCorp Configuration Language (HCL) or JSON syntax.

In your main.tf file, we specify the provider we want to use and configure it with the access key and secret key that we got from was access keys and select our desired region.
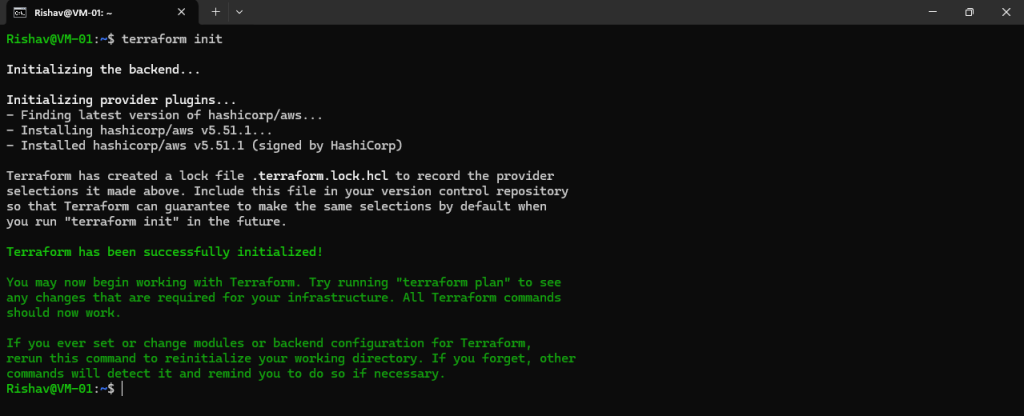
terraform initprepares our Terraform environment by downloading necessary plugins and modules, configuring backends, and initializing providers.- It’s typically the first command we run in a new Terraform configuration directory or when we modify our provider configuration.
- Initialization ensures that our Terraform environment is set up correctly and ready to use for planning, applying, and managing your infrastructure.
During initialization, we will observe progress and status logs as Terraform downloads necessary plugins. Once initialization finishes, you’re free to use other Terraform commands like terraform plan and terraform apply to handle your infrastructure.
Always remember to run terraform init whenever you modify your configuration or start a new Terraform project. This guarantees that Terraform is configured correctly and prepared to manage your infrastructure.
5) Creating Resources
In the main.tf file, add the following HCL code to define the resources you want to create using Terraform. This code specifies the creation of EC2 instance.
To create the EC2 instances, open a terminal, navigate to your Terraform project directory, and run the following commands:
Initialize Terraform:
terraform init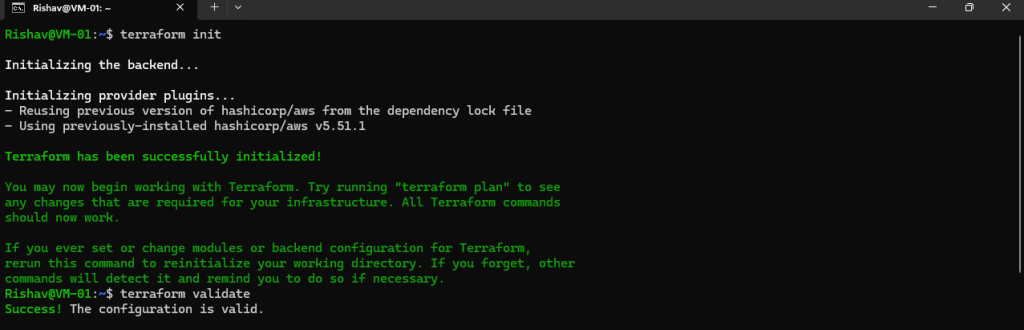
Terraform Validate : The terraform validate command is used to validate the syntax and configuration of your Terraform files without actually executing any changes.
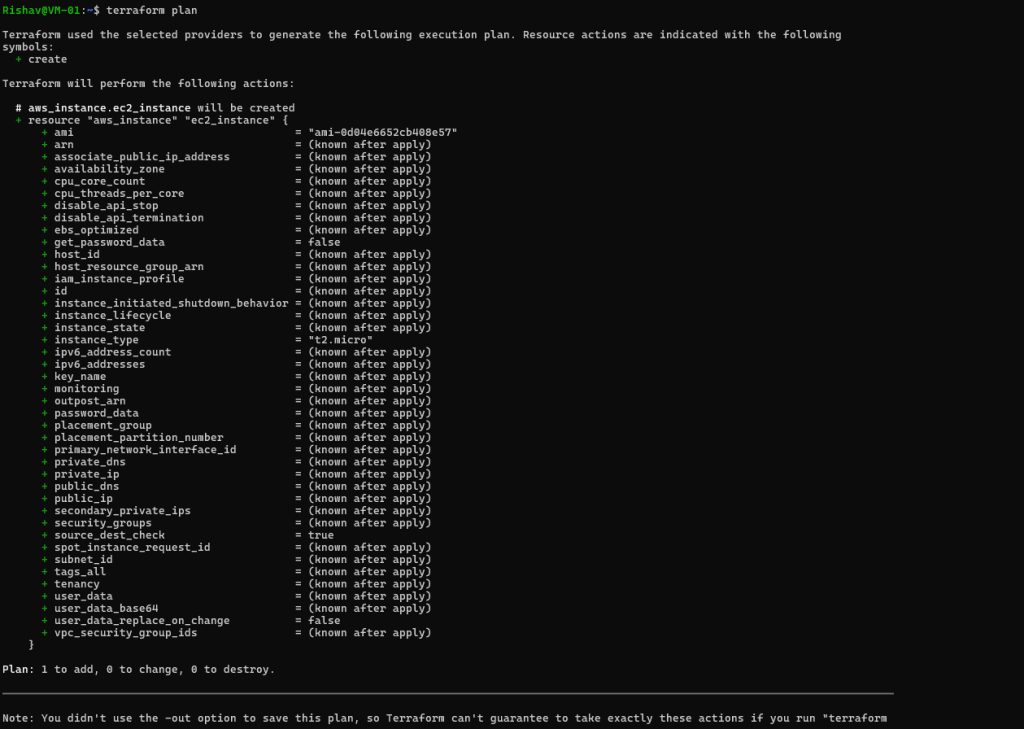
terraform validateTerraform plan : This command shows you a preview of the resources that will be created.
terraform plan
Terraform apply: Terraform creates ec2 according to the configuration
terraform apply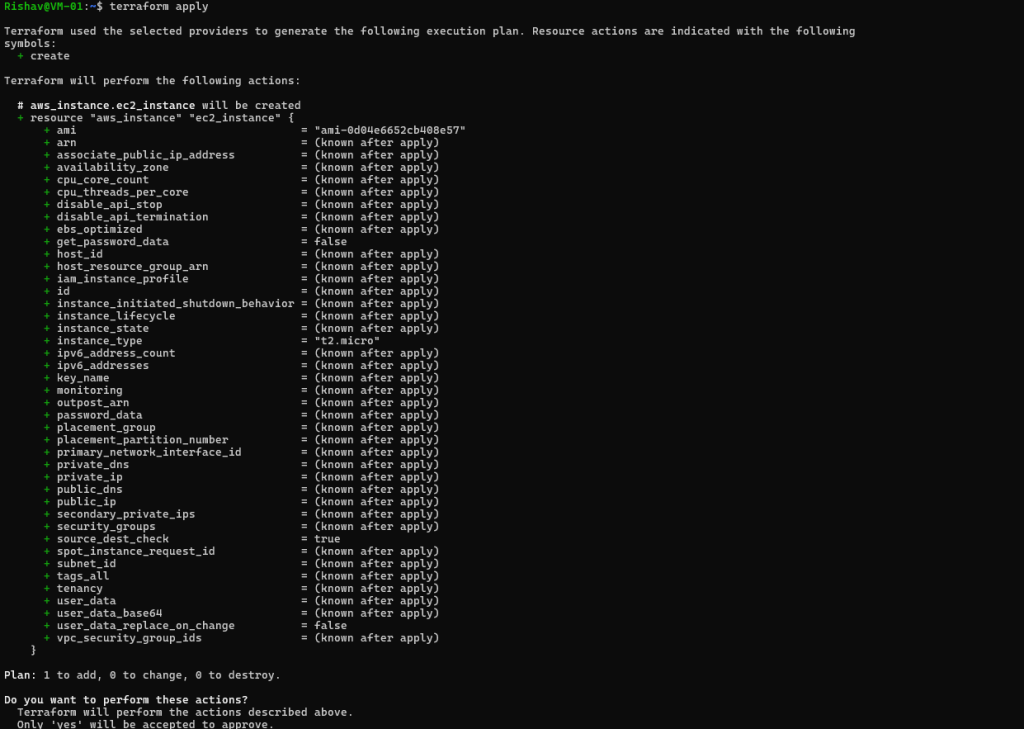
Now just go the AWS account and there we can see the new instance is created.

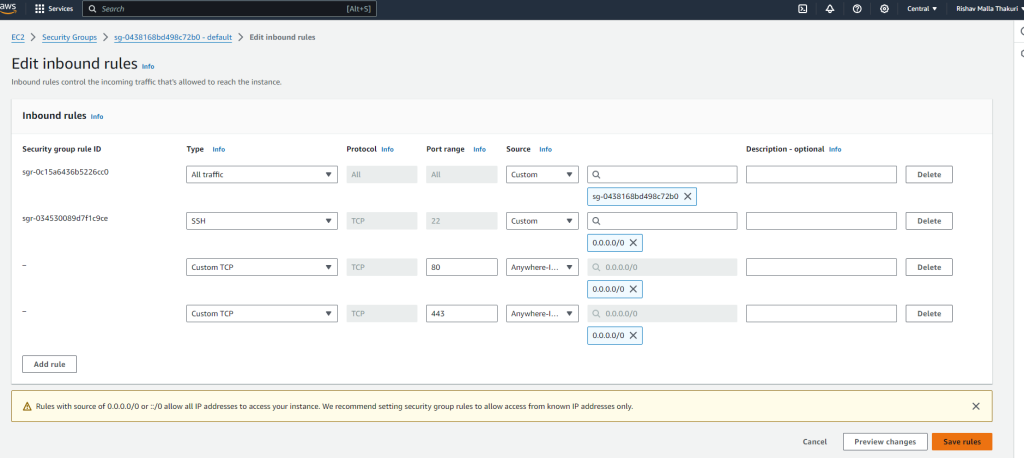
Then connect to the ec2 instance using ssh or using ec2 instance connect. If can connect using ssh , set the inbound rule for ssh in the security group.

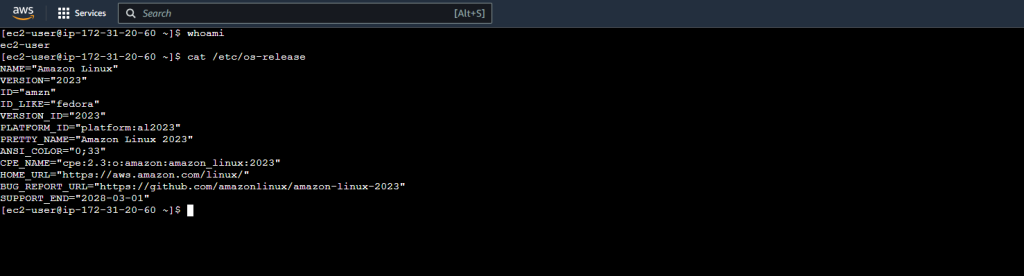
Here, after connecting to the console of instance, check the root user using whoami command.
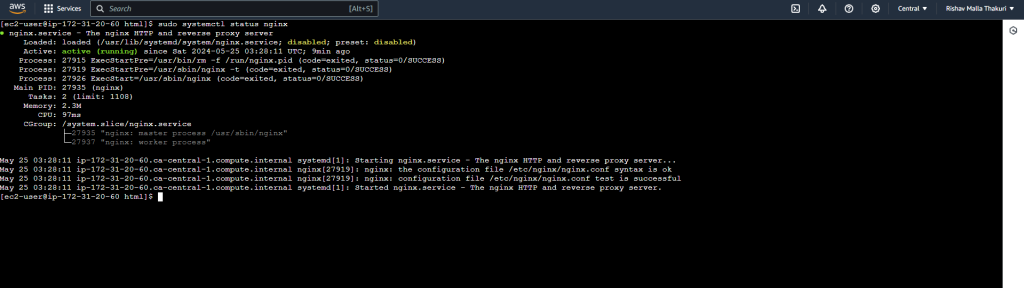
Now install the nginx web server using the following command.
sudo yum install nginx
check if the nginx web server is running or not using the following command :
sudo systemctl status nginxIf the web server is not running seeing the status. You can start the service using the following command and again check the status of the server.
sudo systemctl start nginx
Then go the the inboud rules in the security group of the instance and add the 80,443 rule to be accessible for the HTTP and https.
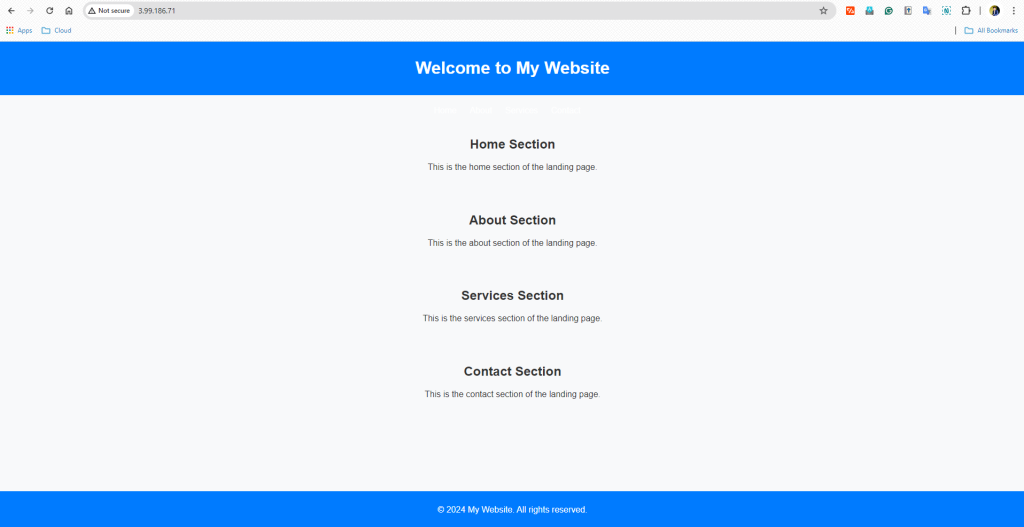
Now, locate the default index.html page of the nginx web server. The default root directory for Nginx is /usr/share/nginx/html/.

Now just edit the index.html page using the nano command. You can use your design to create your own website.
6) Destroying the resources
All the created resources can be destroyed using a single command
terraform destroy
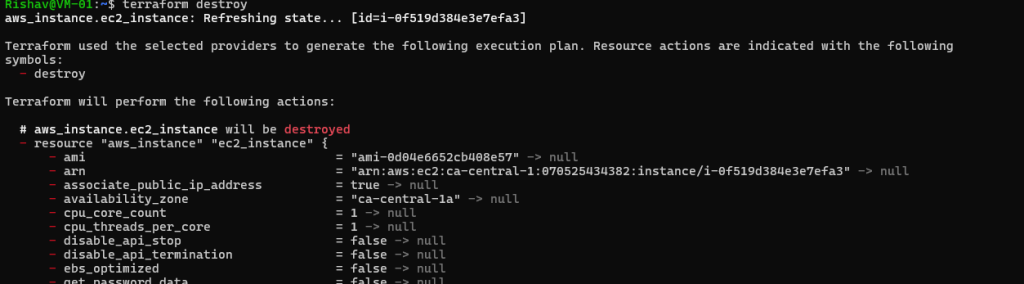
Here, we can see that our instance is terminated as we destroyed the instance.
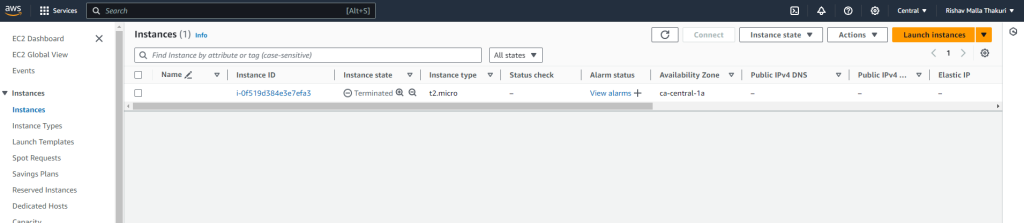
Also don’t forget to delete the VM from Azure.
In conclusion, the process outlined in the post focuses on defining resources using Terraform for the creation of EC2 instances in AWS. By adding the provided HCL code to the main.tf file, users can easily specify the desired number of instances, AMI, and instance type. This approach streamlines the deployment process, ensuring consistency and repeatability in infrastructure provisioning.
Overall, leveraging Terraform for infrastructure as code (IaC) empowers users to efficiently manage their cloud resources, automate deployment workflows, and maintain infrastructure consistency across different environments.