Creating Docker Volumes – Leveraging Docker Volumes for Jenkins
Docker volumes are a way to persist data generated by Docker containers. They provide a method for sharing data between containers, as well as between the host machine and containers. Docker volumes are especially useful for managing data that needs to persist beyond the lifecycle of a container, such as databases, configuration files, and application data.
How to Use Docker Volumes:
1. Creating a Docker Volume:
You can create a Docker volume using the docker volume create command, specifying the desired volume name. For example:
docker volume create my_volume
2. Mounting a Volume to a Container:
To use a Docker volume with a container, you need to specify the volume when running the container using the -v or --volume flag. For example:
docker run -v my_volume:/path/in/container my_image
This command mounts the my_volume volume to the specified path within the container.
3. Viewing Volume Information:
You can view information about Docker volumes using the docker volume inspect command. For example:
docker volume inspect my_volume
4. Managing Volumes:
Docker provides commands for managing volumes, such as docker volume ls to list all volumes, docker volume rm to remove volumes, and docker volume prune to remove all unused volumes.
Using Docker Volumes with Jenkins:
- Create a Docker Volume: First, create a Docker volume to store Jenkins data persistently. You can do this using the following command:
docker volume create jenkins_data
2. Run Jenkins Container with Docker Volume: Next, start a Jenkins container while specifying the Docker volume created earlier. This ensures that Jenkins data remains persistent even if the container is stopped or removed.
docker run -p 8080:8080 -p --name jenkins -v jenkins_data:/var/jenkins_home jenkins/jenkins
-p 8080:8080: Maps port 8080 on the host machine to port 8080 inside the Jenkins container. This allows you to access Jenkins’ web interface from your host machine using port 8080.
--name jenkins: Assigns the name “jenkins” to the Docker container. This provides a human-readable identifier for the container, making it easier to reference in subsequent Docker commands.
-v jenkins_data:/var/jenkins_home: Mounts a Docker volume named “jenkins_data” to the /var/jenkins_home directory inside the Jenkins container. This volume is used to persist Jenkins data, such as configuration settings, job configurations, and plugins.
jenkins/jenkins: Specifies the Docker image to use for creating the Jenkins container. In this case, it pulls the official Jenkins image from the Docker Hub repository maintained by the Jenkins project.
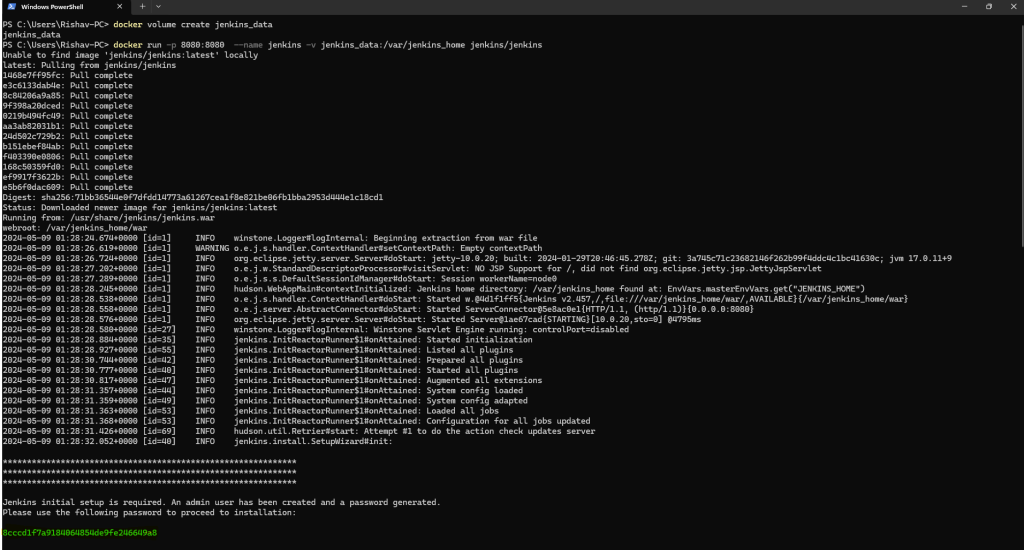
3. Accessing Jenkins Web Interface: With the container up and running, navigate to http://localhost:8080 in your browser to access the Jenkins web interface. Follow the prompts to finalize the Jenkins setup.
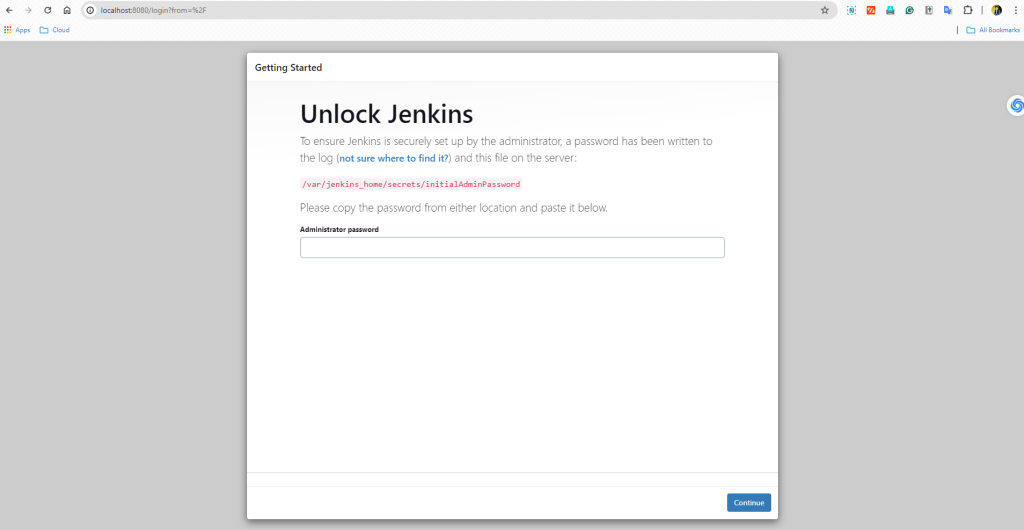
You can obtain this password from the console output displayed during the setup process when configuring the Jenkins volume. This password is essential for securing access to Jenkins’ administrative functions via its web interface.

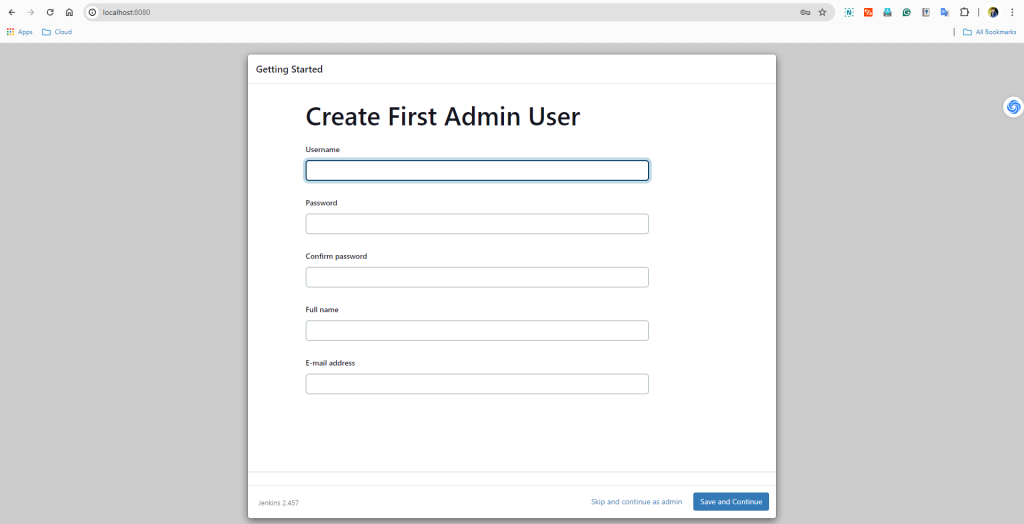
After getting access to the Jenkins, just Click on the install suggested plugins to install some plugin required.

Give the listed details as your choice. Username, password etc
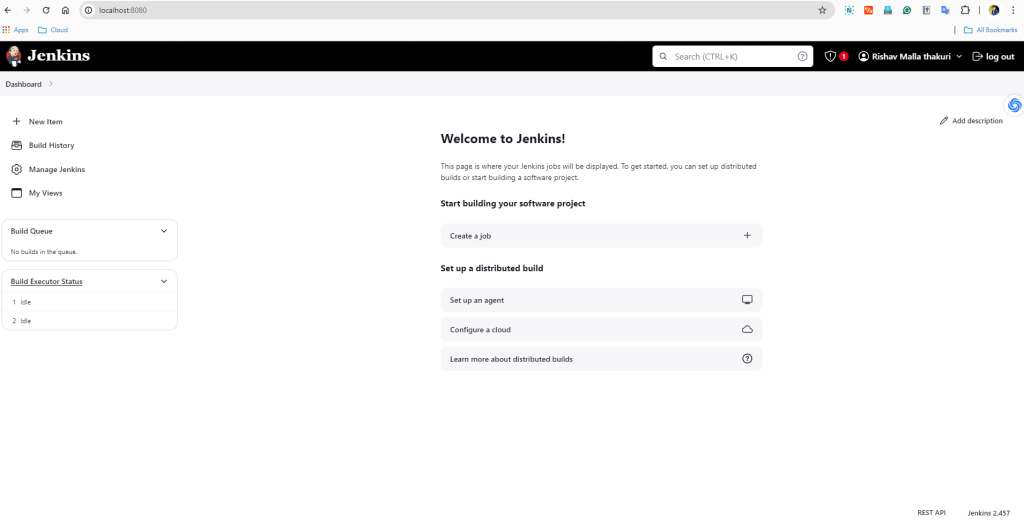
After giving the details, you can now view the Jenkins dashboard.
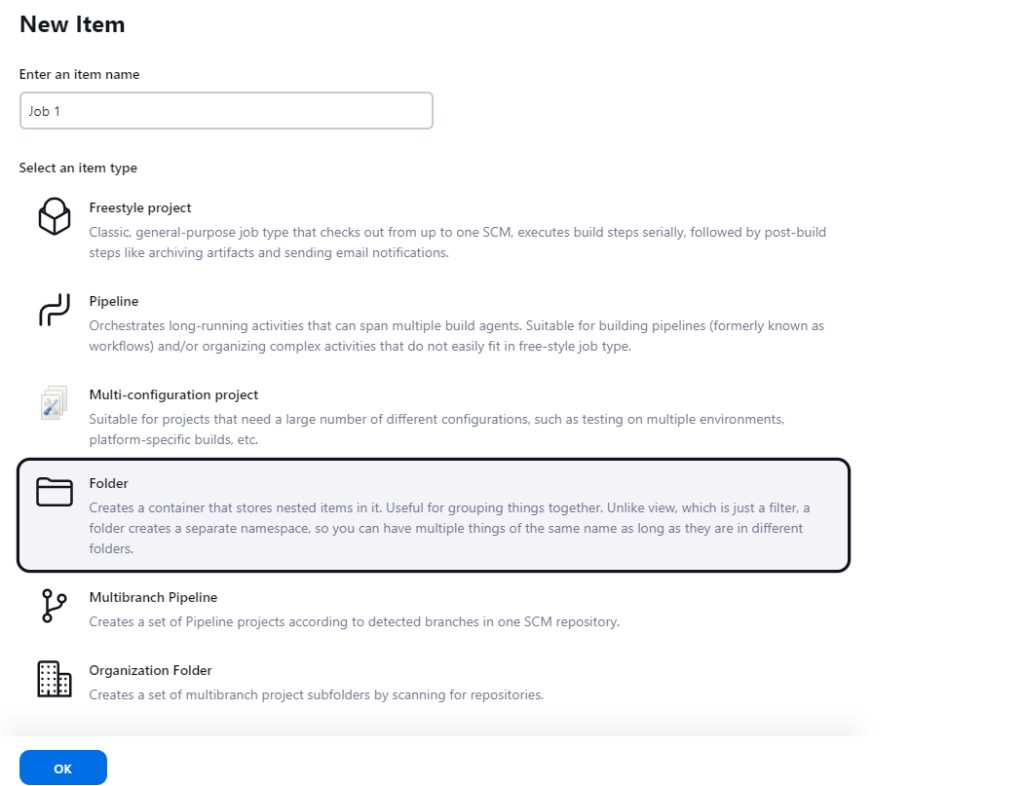
Now here, Lets create New Item name JOB 1 and select Item type folder for now.
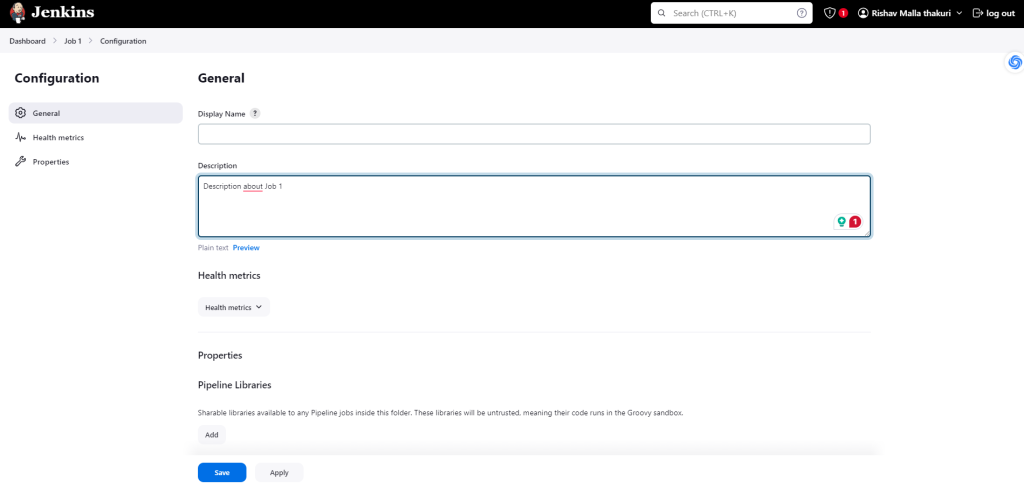
Give some description about the new item and then save.
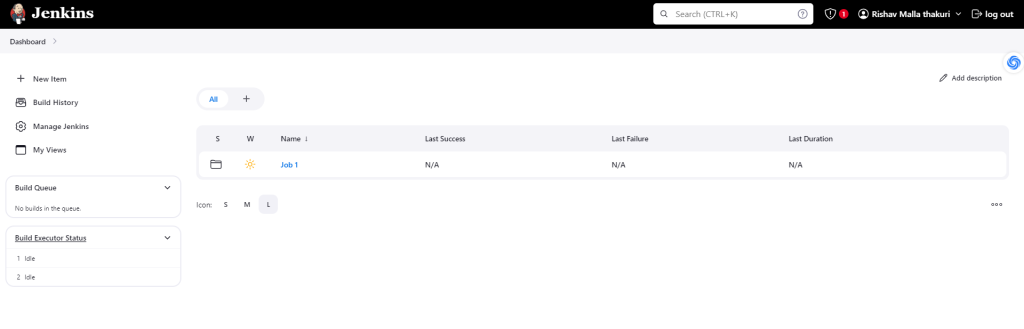
Now in the Jenkins dashboard, we can see the New item is created.
Now, we gonna test the Jenkins Volume created. Here, we stopped the Jenkins volume and deleted it. You can check the localhost:8080 is not responding as the container associated with it was deleted

Now, we create another container that is associated with the same volume used by the previous container. Here, jenkins_container_2 is new container name.
docker run -p 8080:8080 -v jenkins_home:/var/jenkins_home --name jenkins_container_2 jenkins/jenkins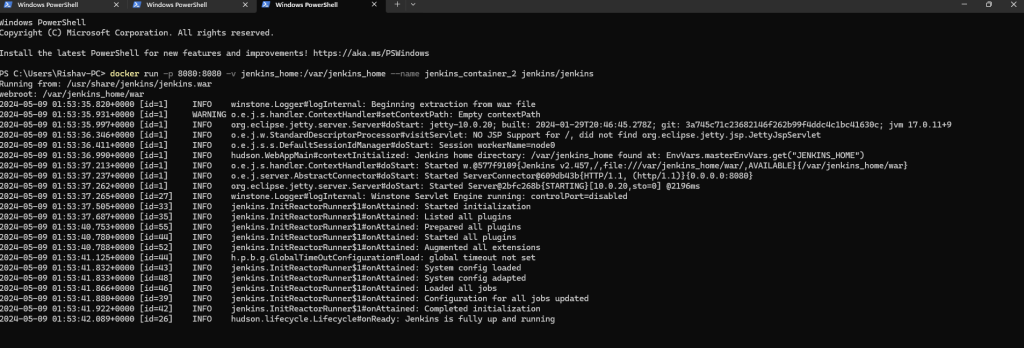
Now, again connect to the localhost:8080. Give username and password. Here you can see the New Item we created previously in the Container which we deleted is still there.
By deleting the existing Jenkins container and creating a new one with the same volume, we tested whether the Jenkins data persisted across container restarts. If everything is functioning as expected and our Jenkins instance is restored to its previous state, it confirms that the Docker volume (jenkins_data) successfully retained the Jenkins data.
This testing process ensures the reliability and resilience of your Jenkins setup, allowing you to confidently manage and maintain your CI/CD pipelines.